Workflow
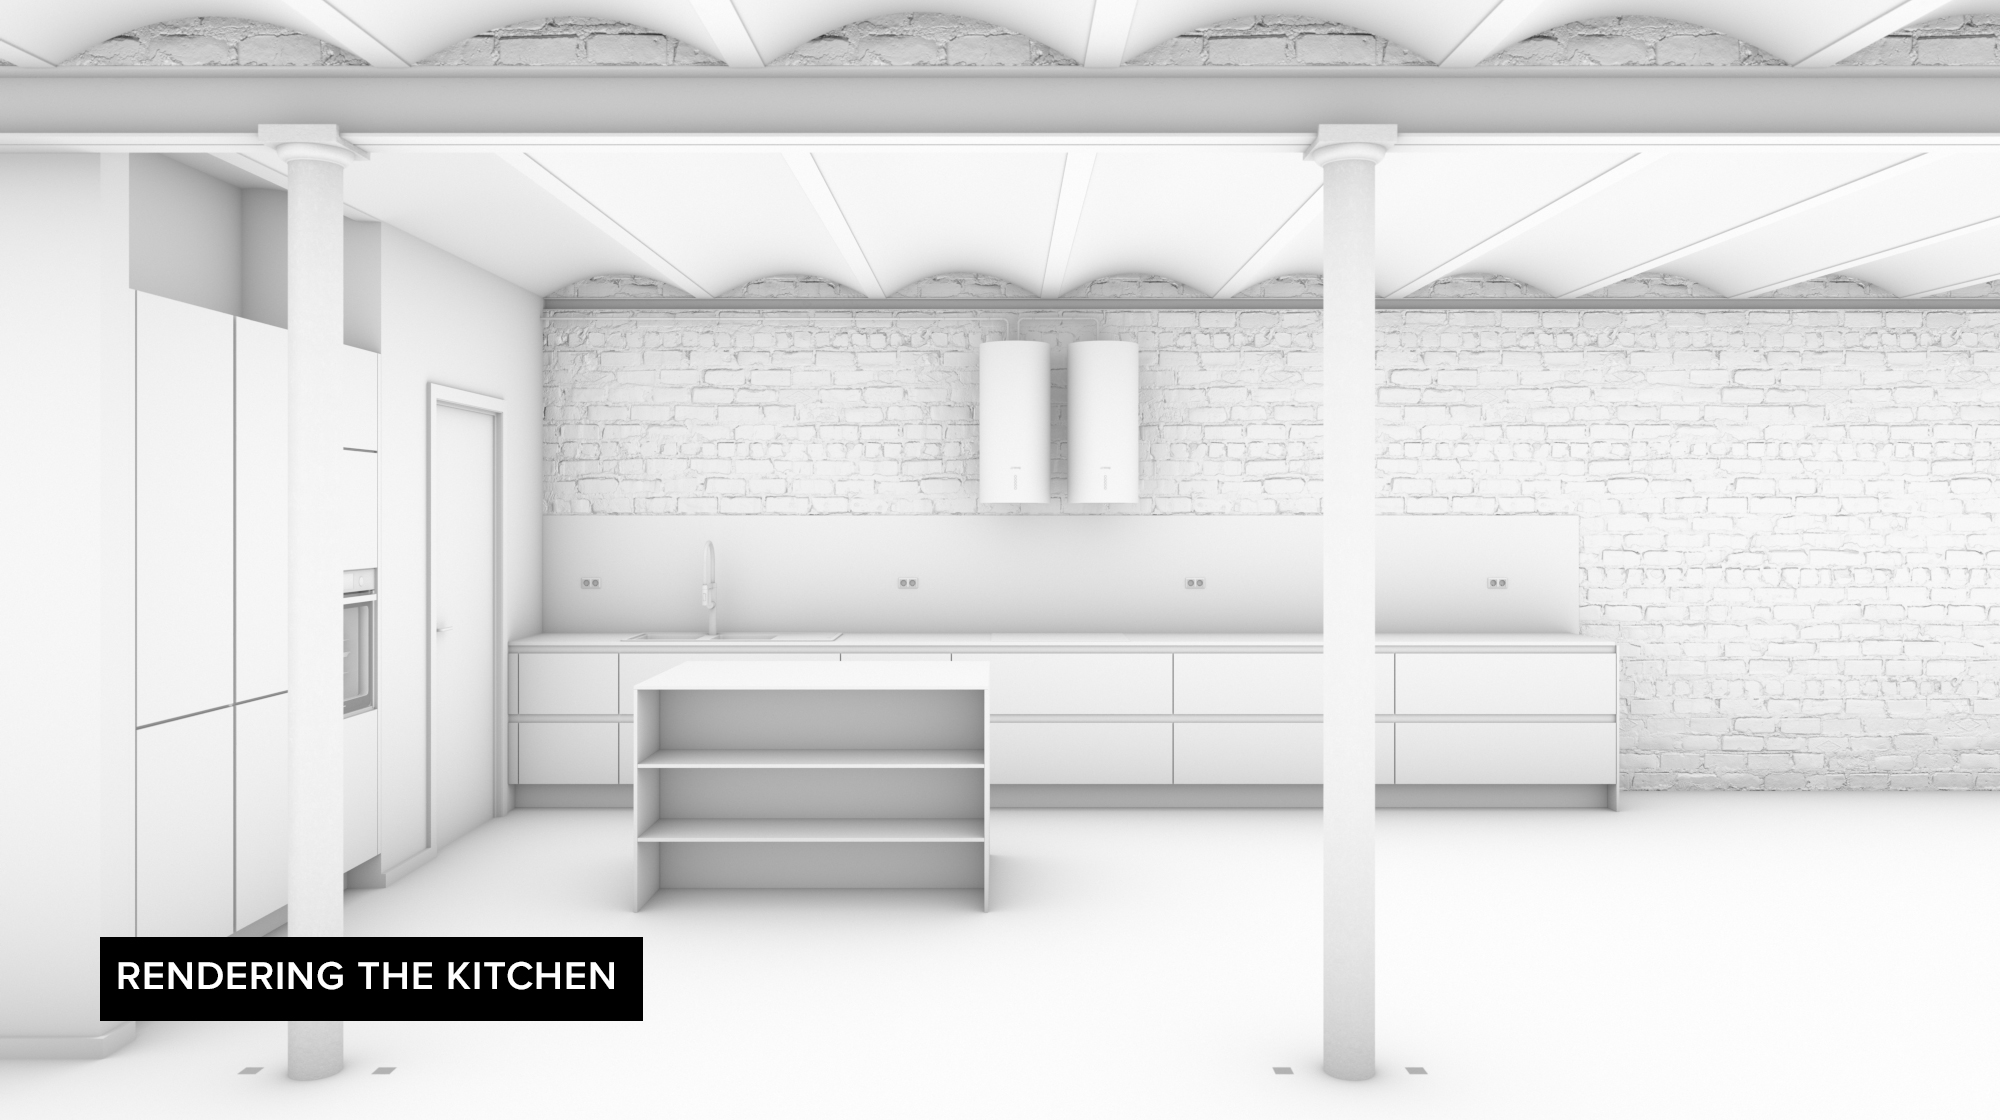
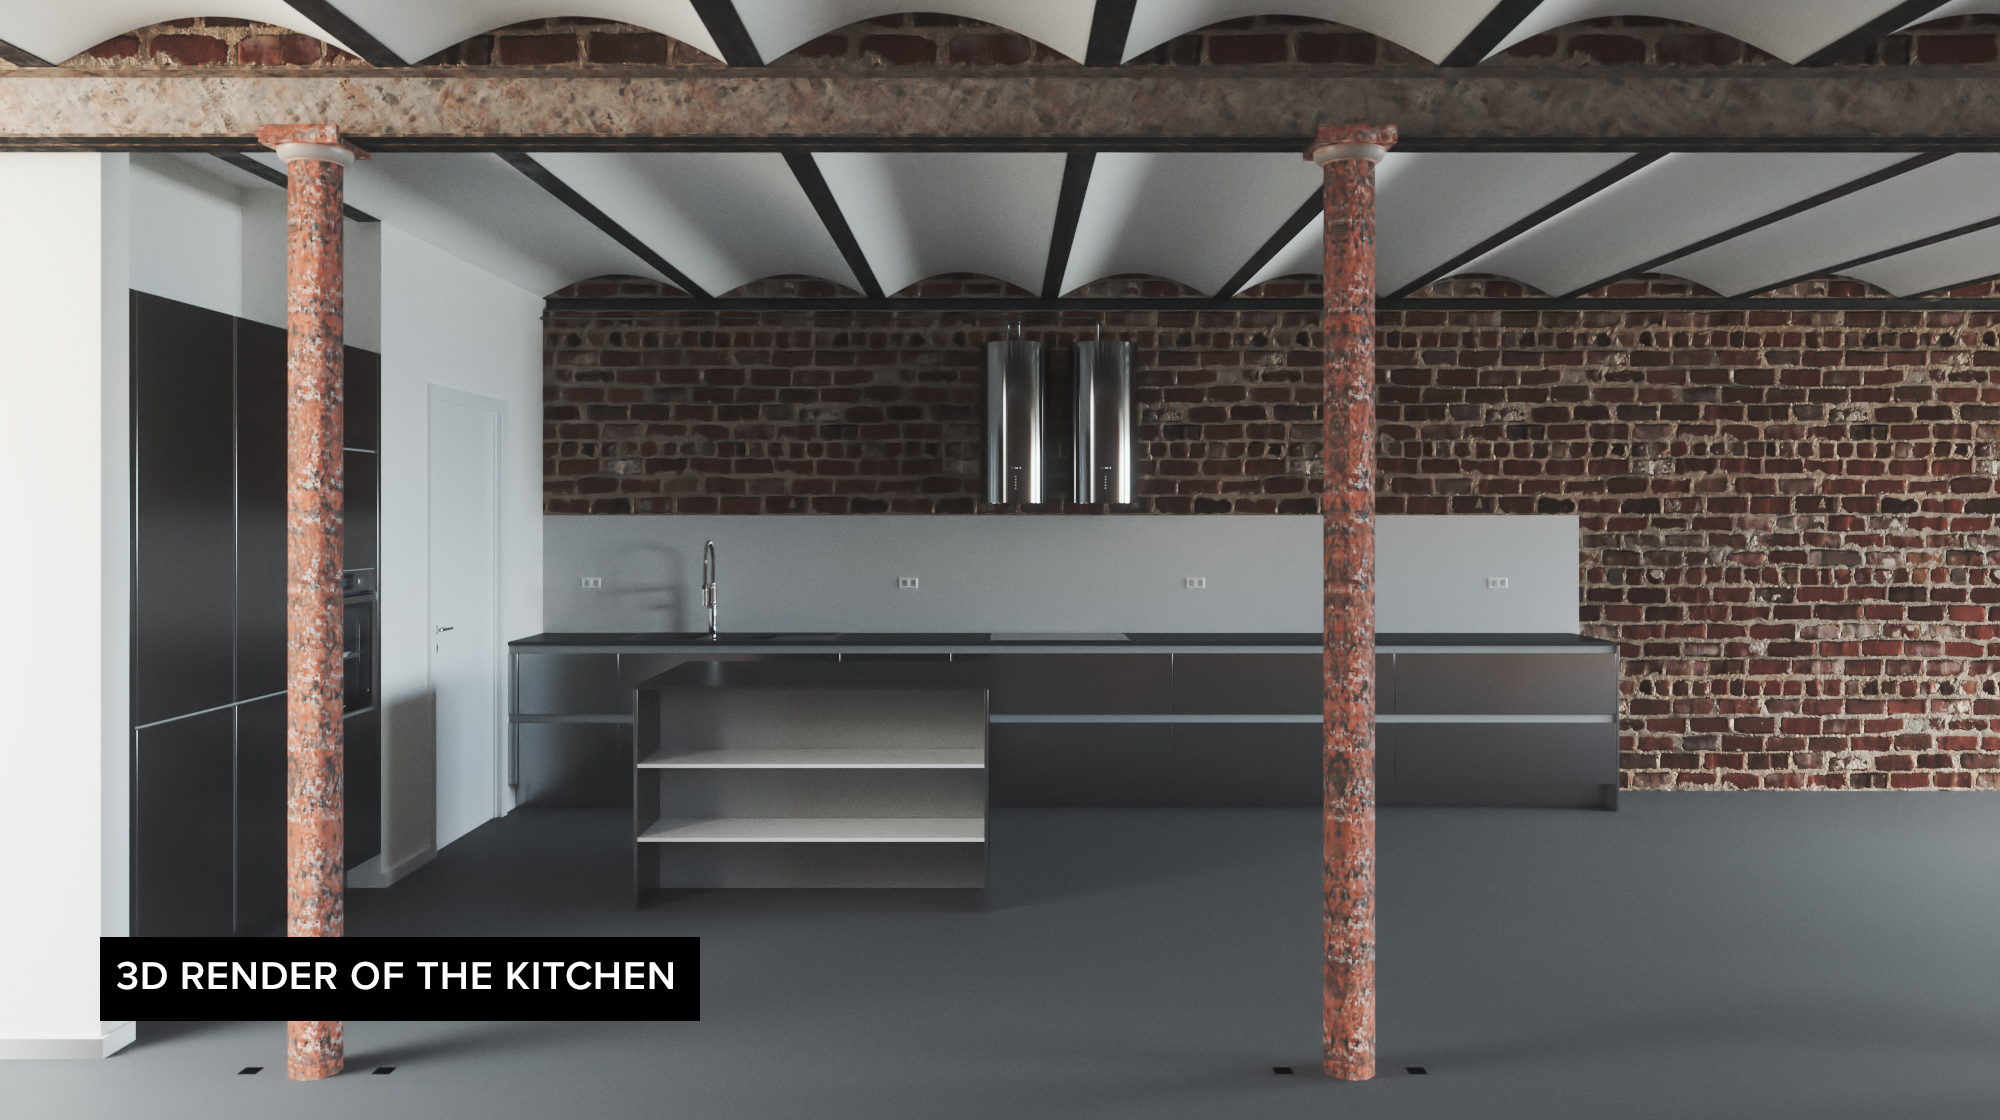
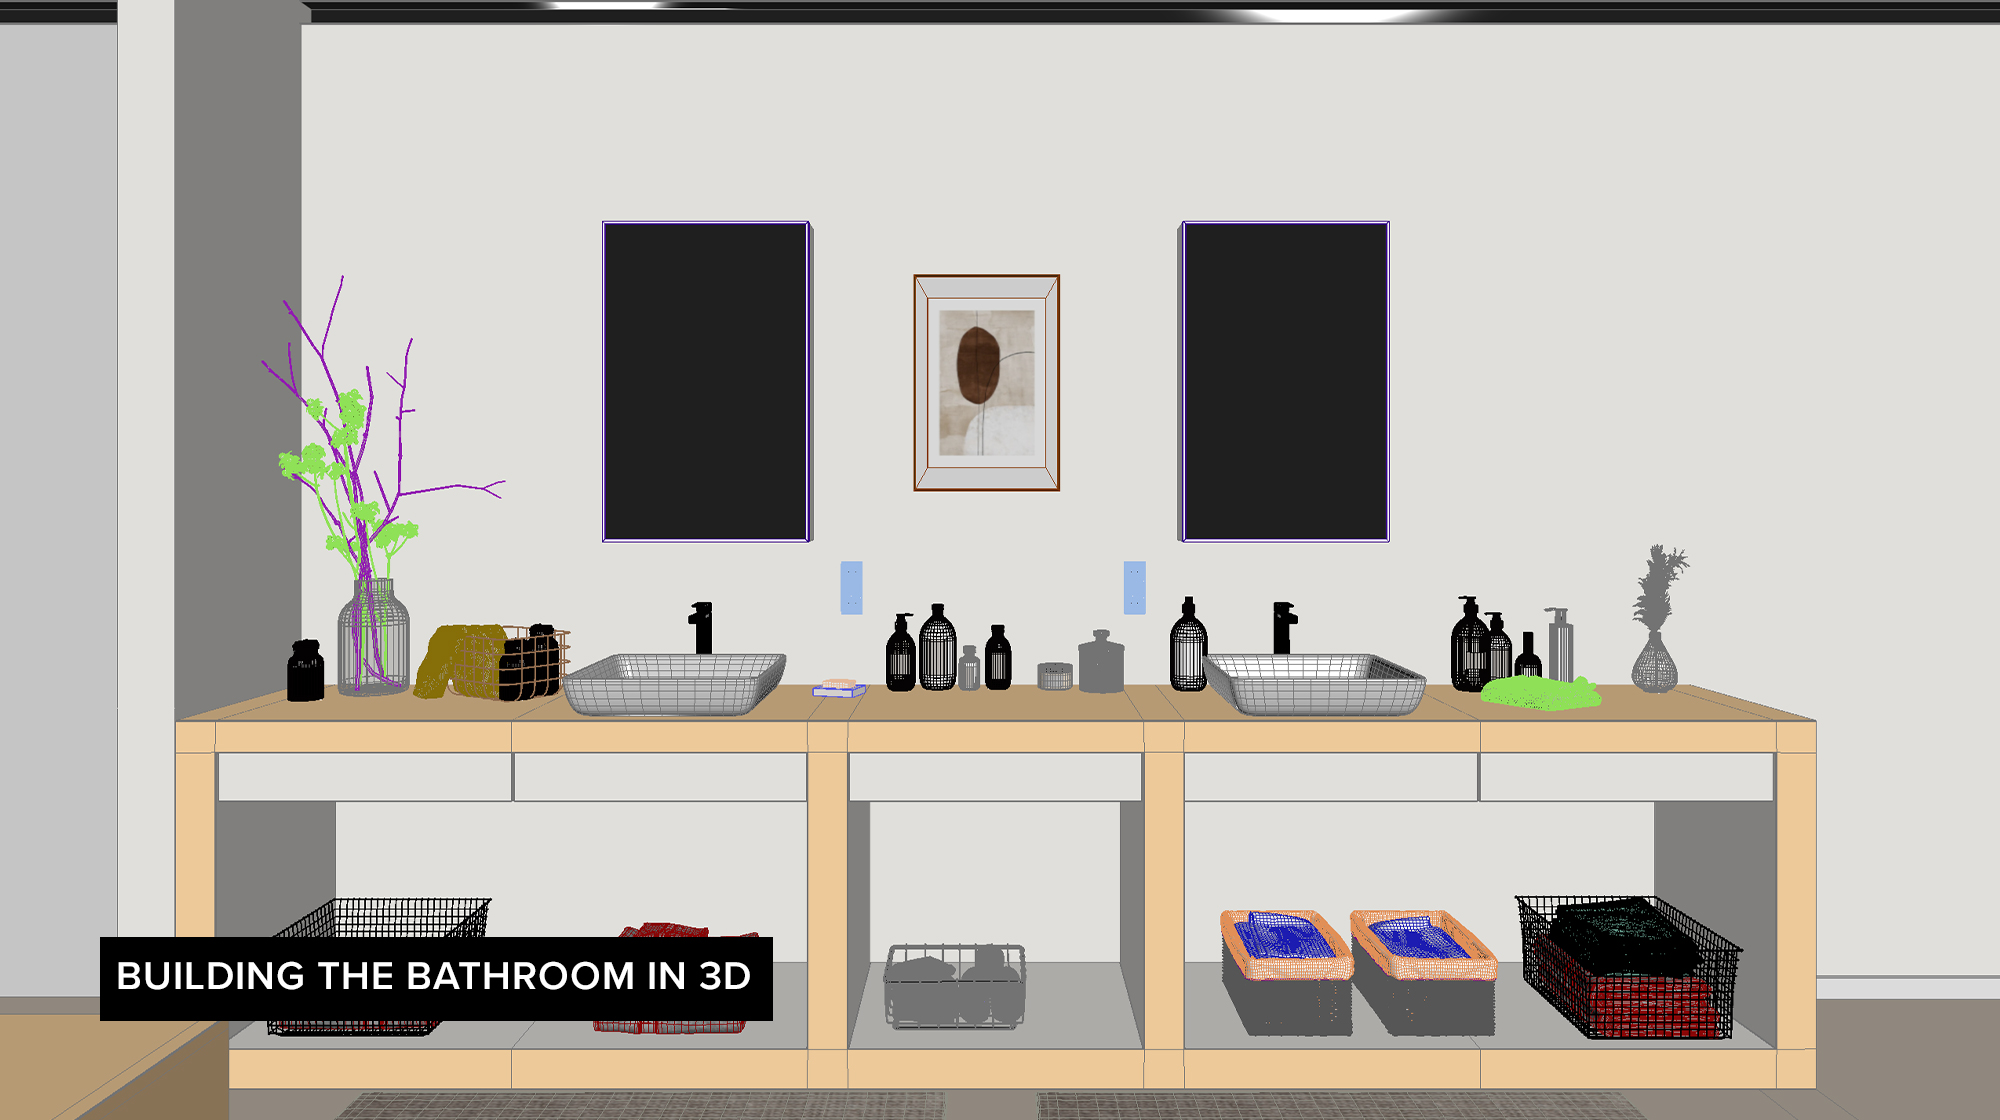
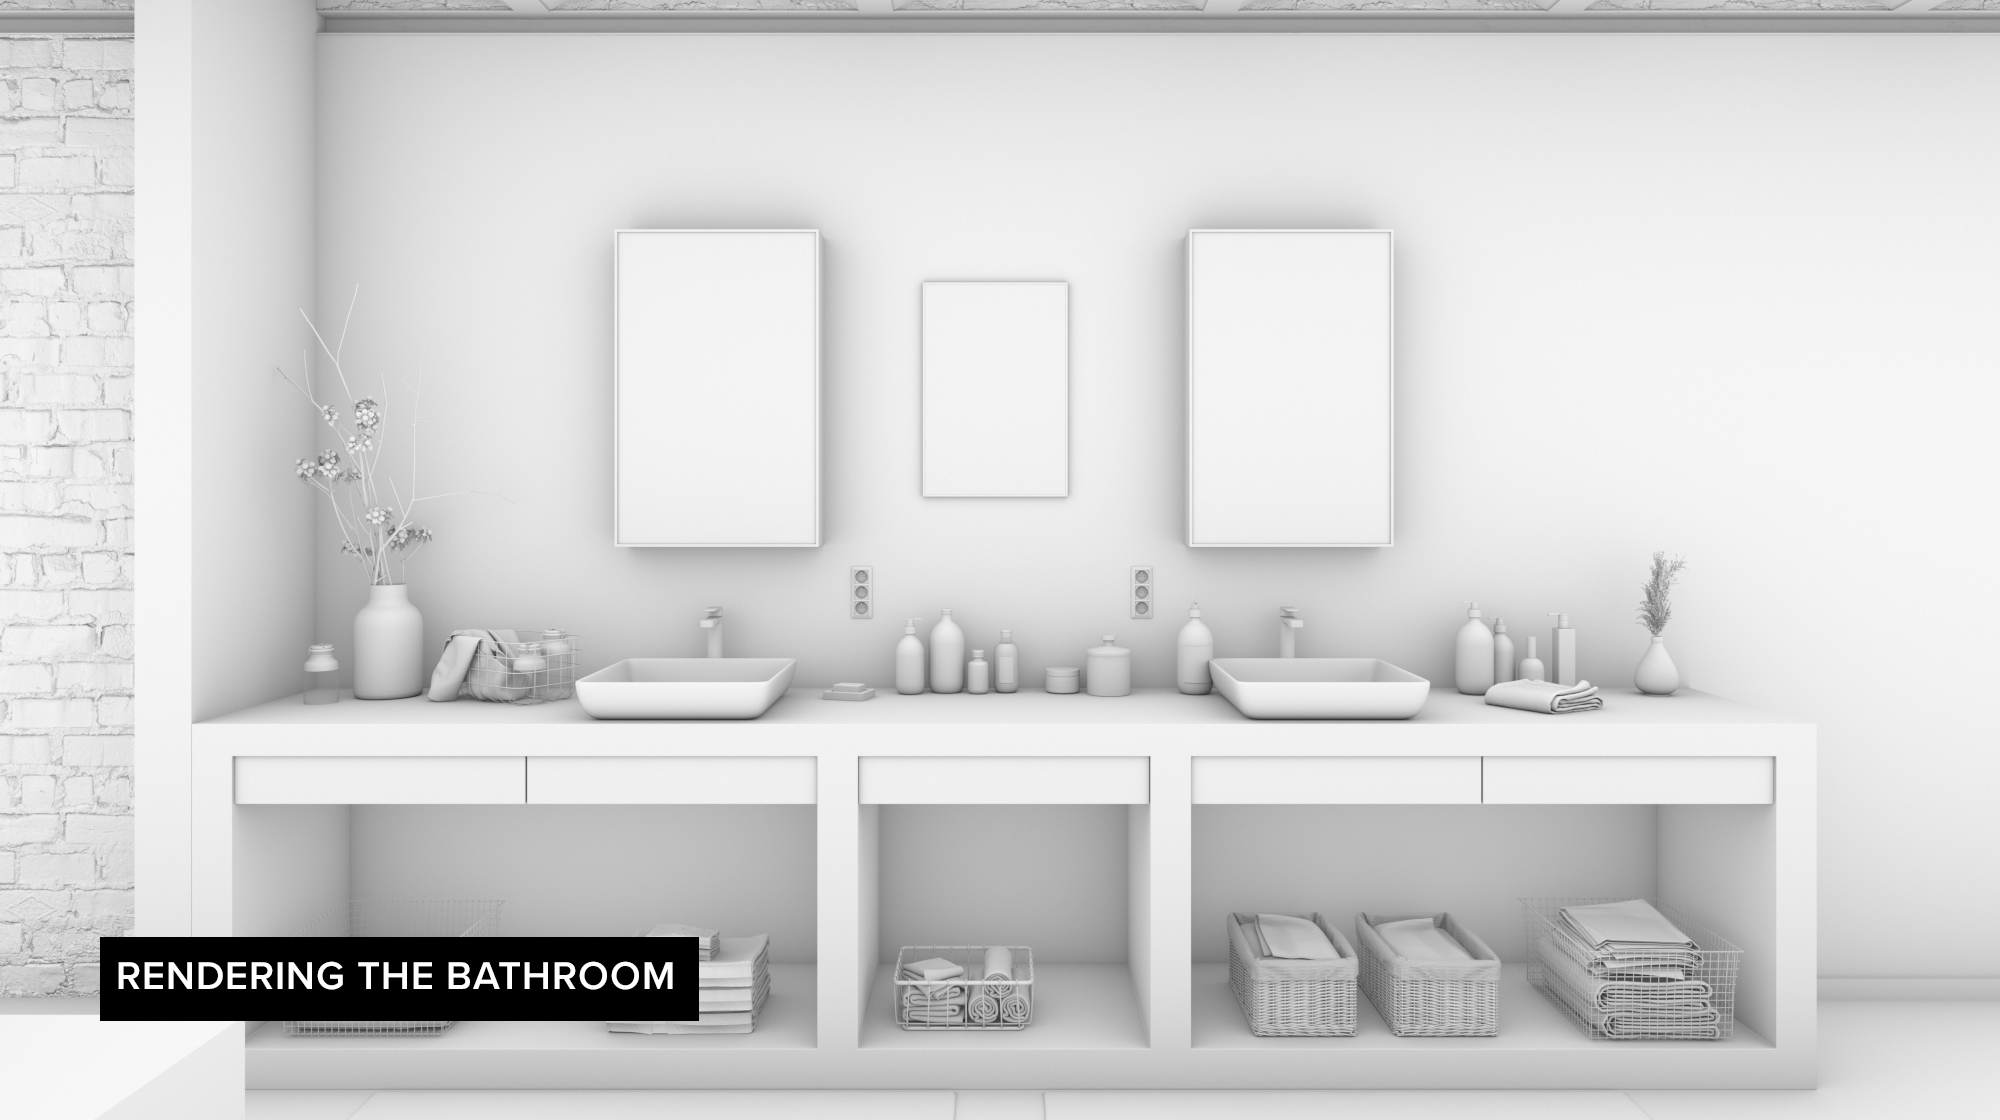
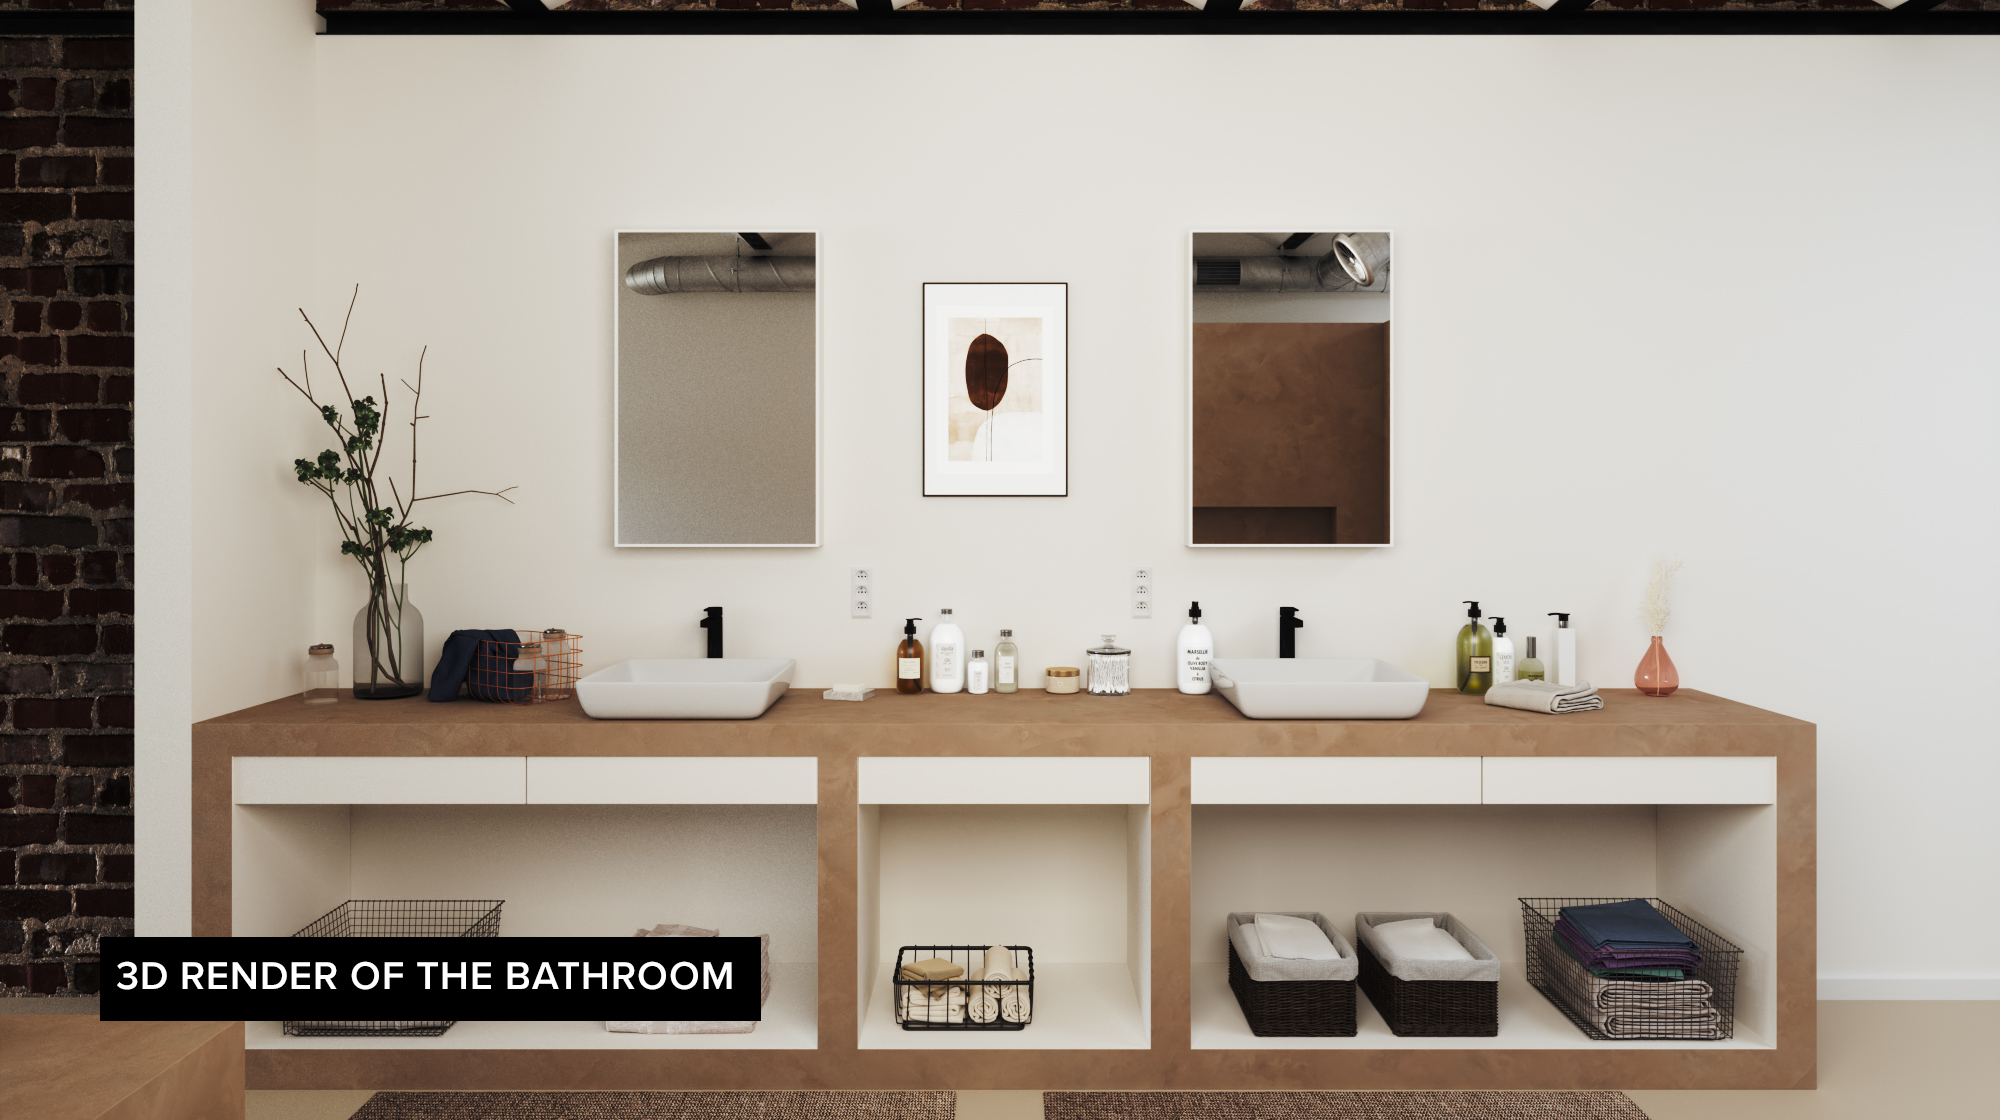
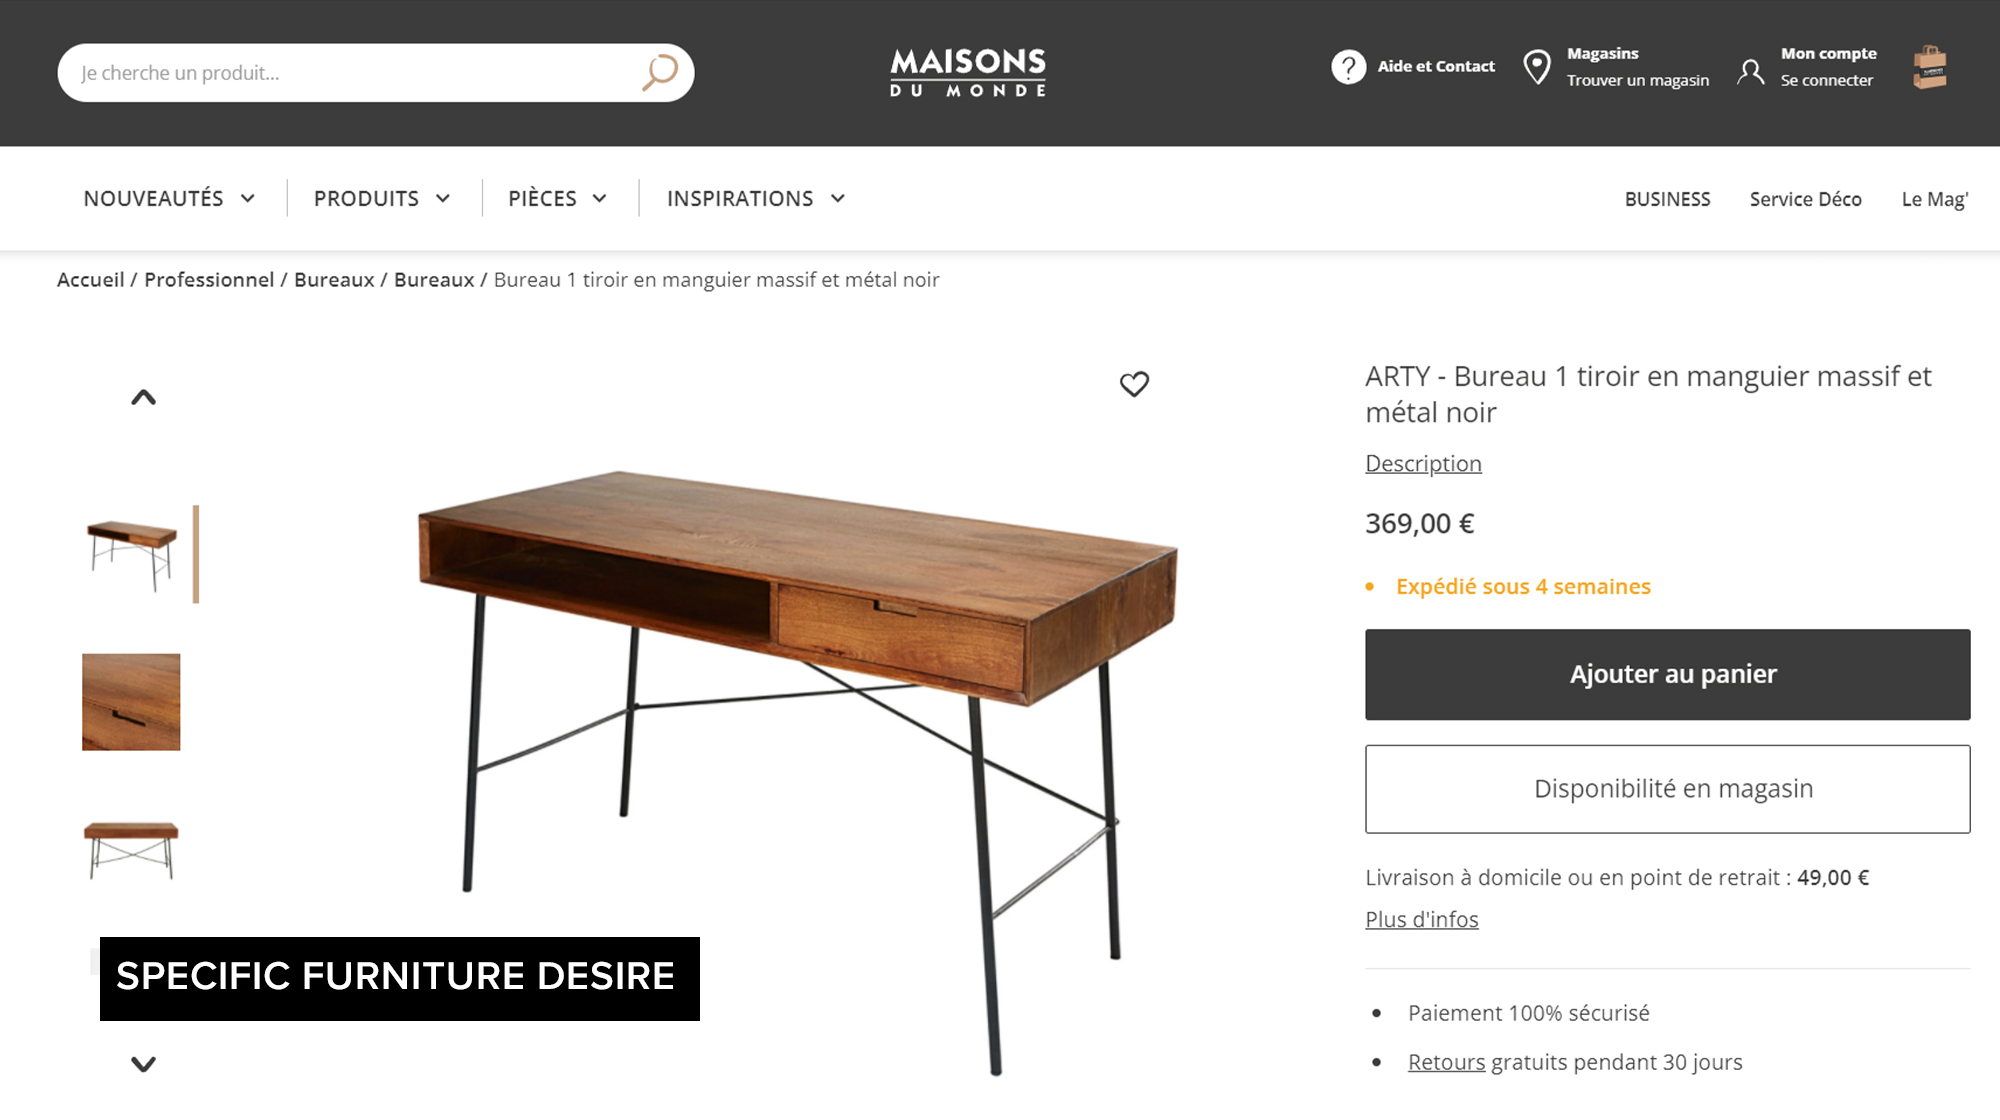
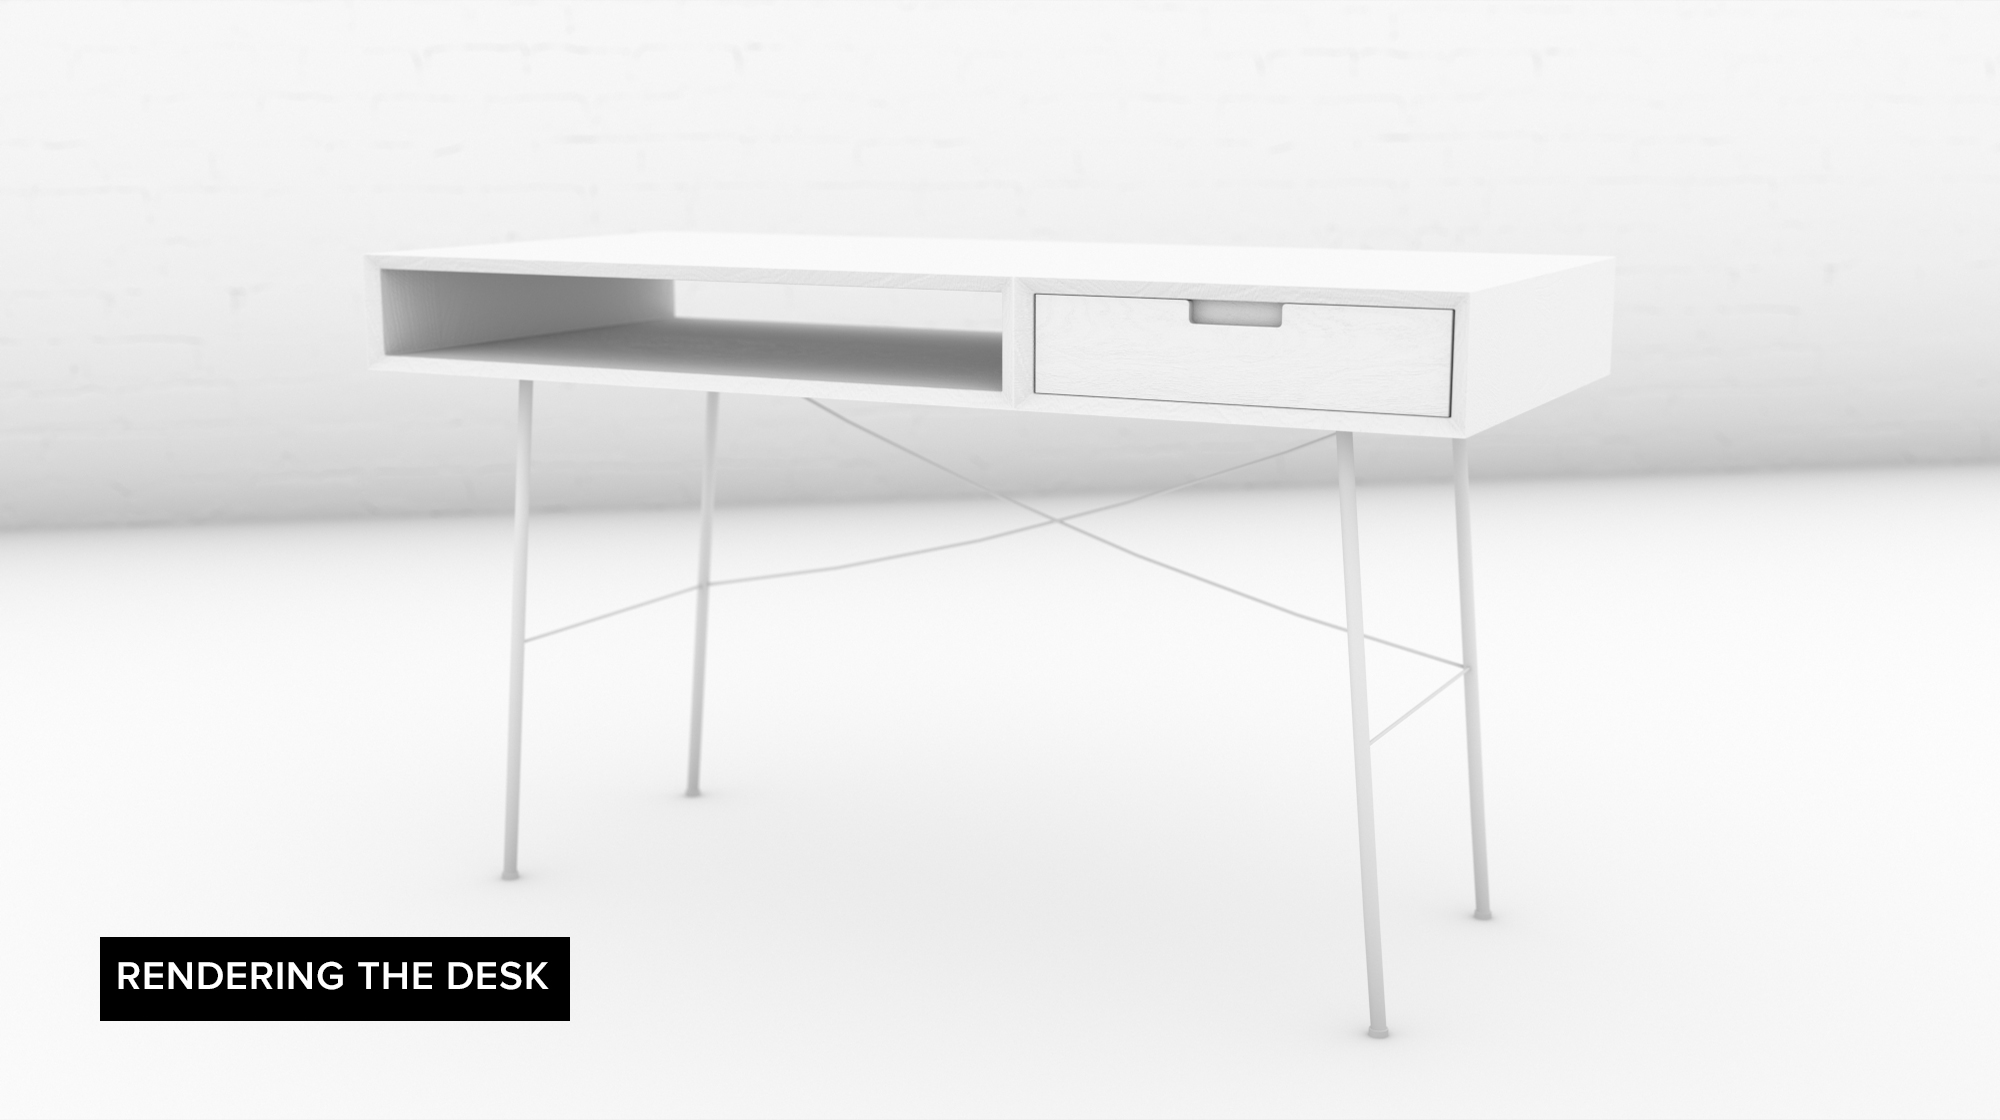
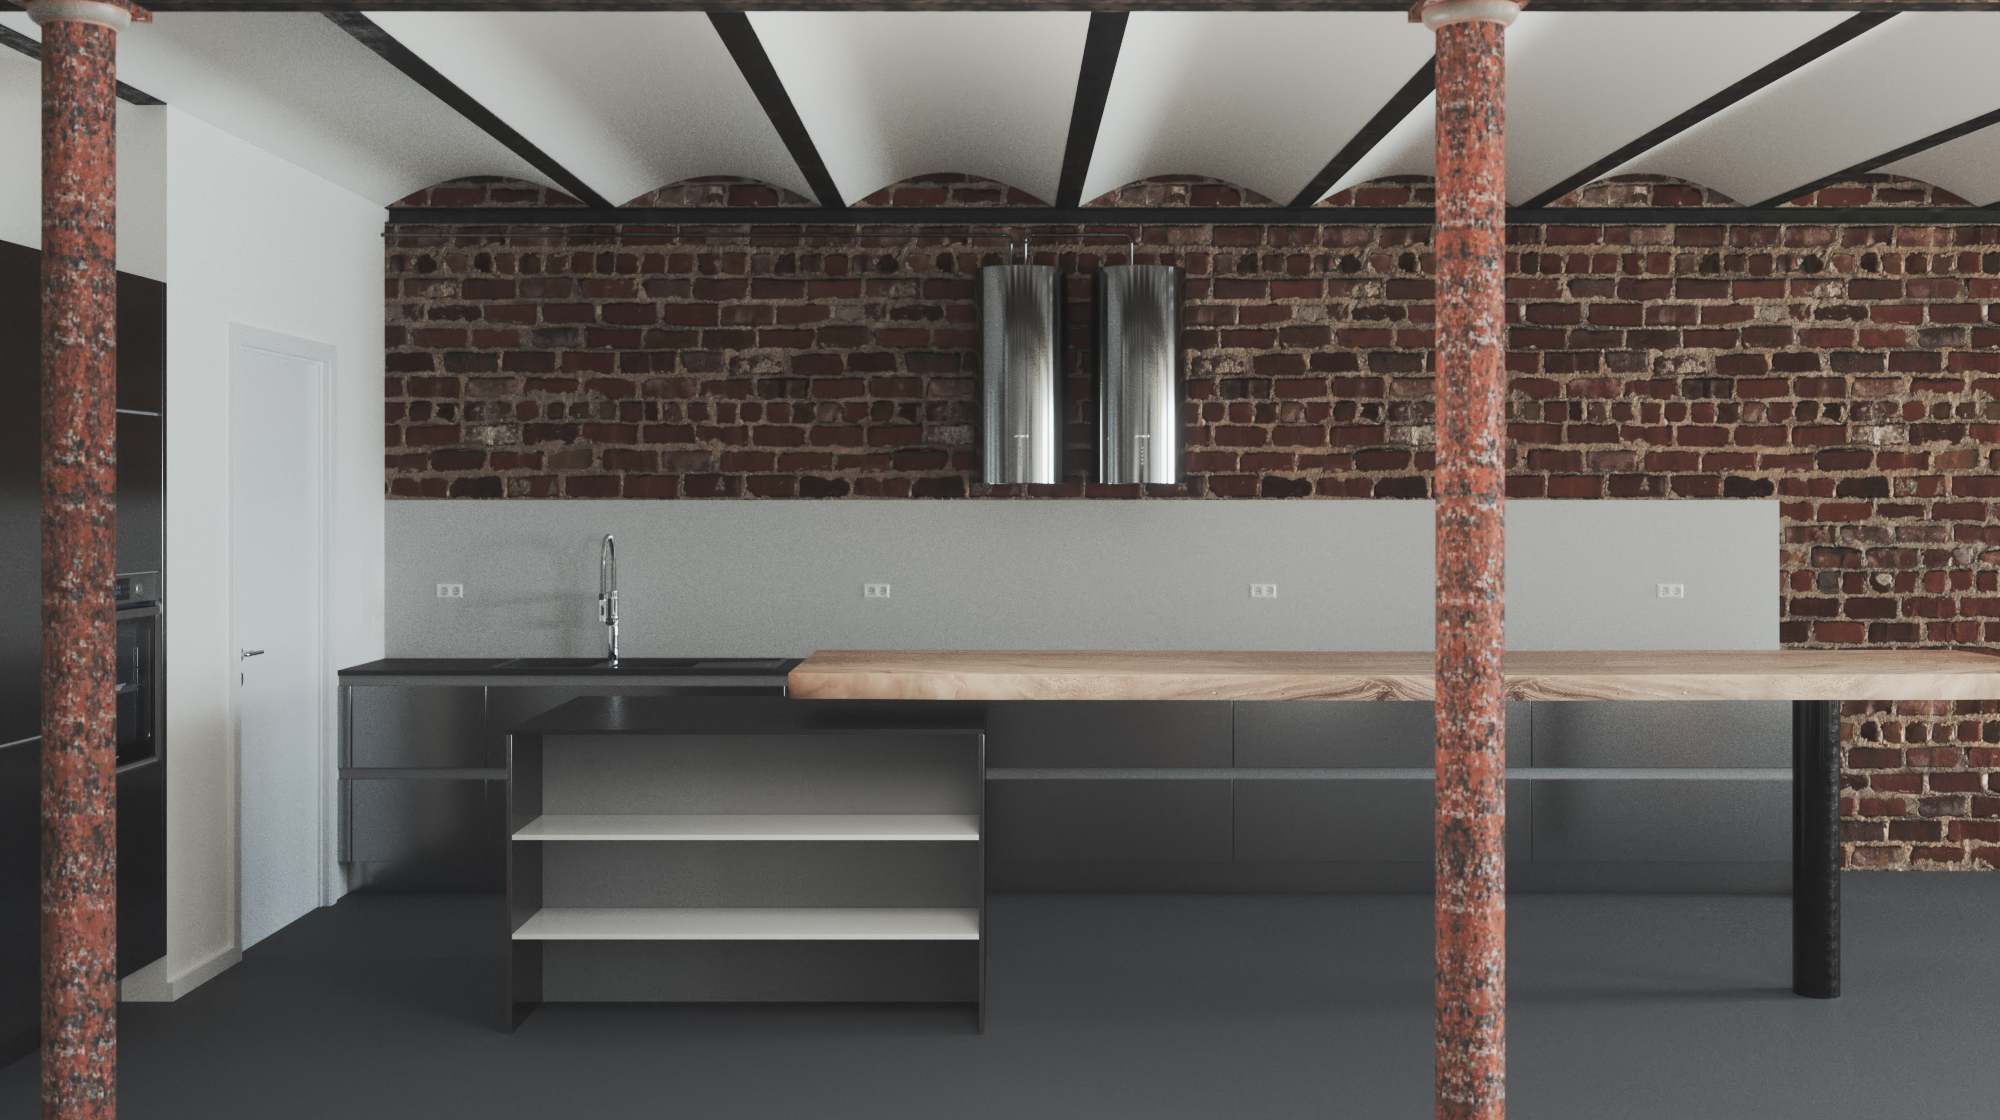
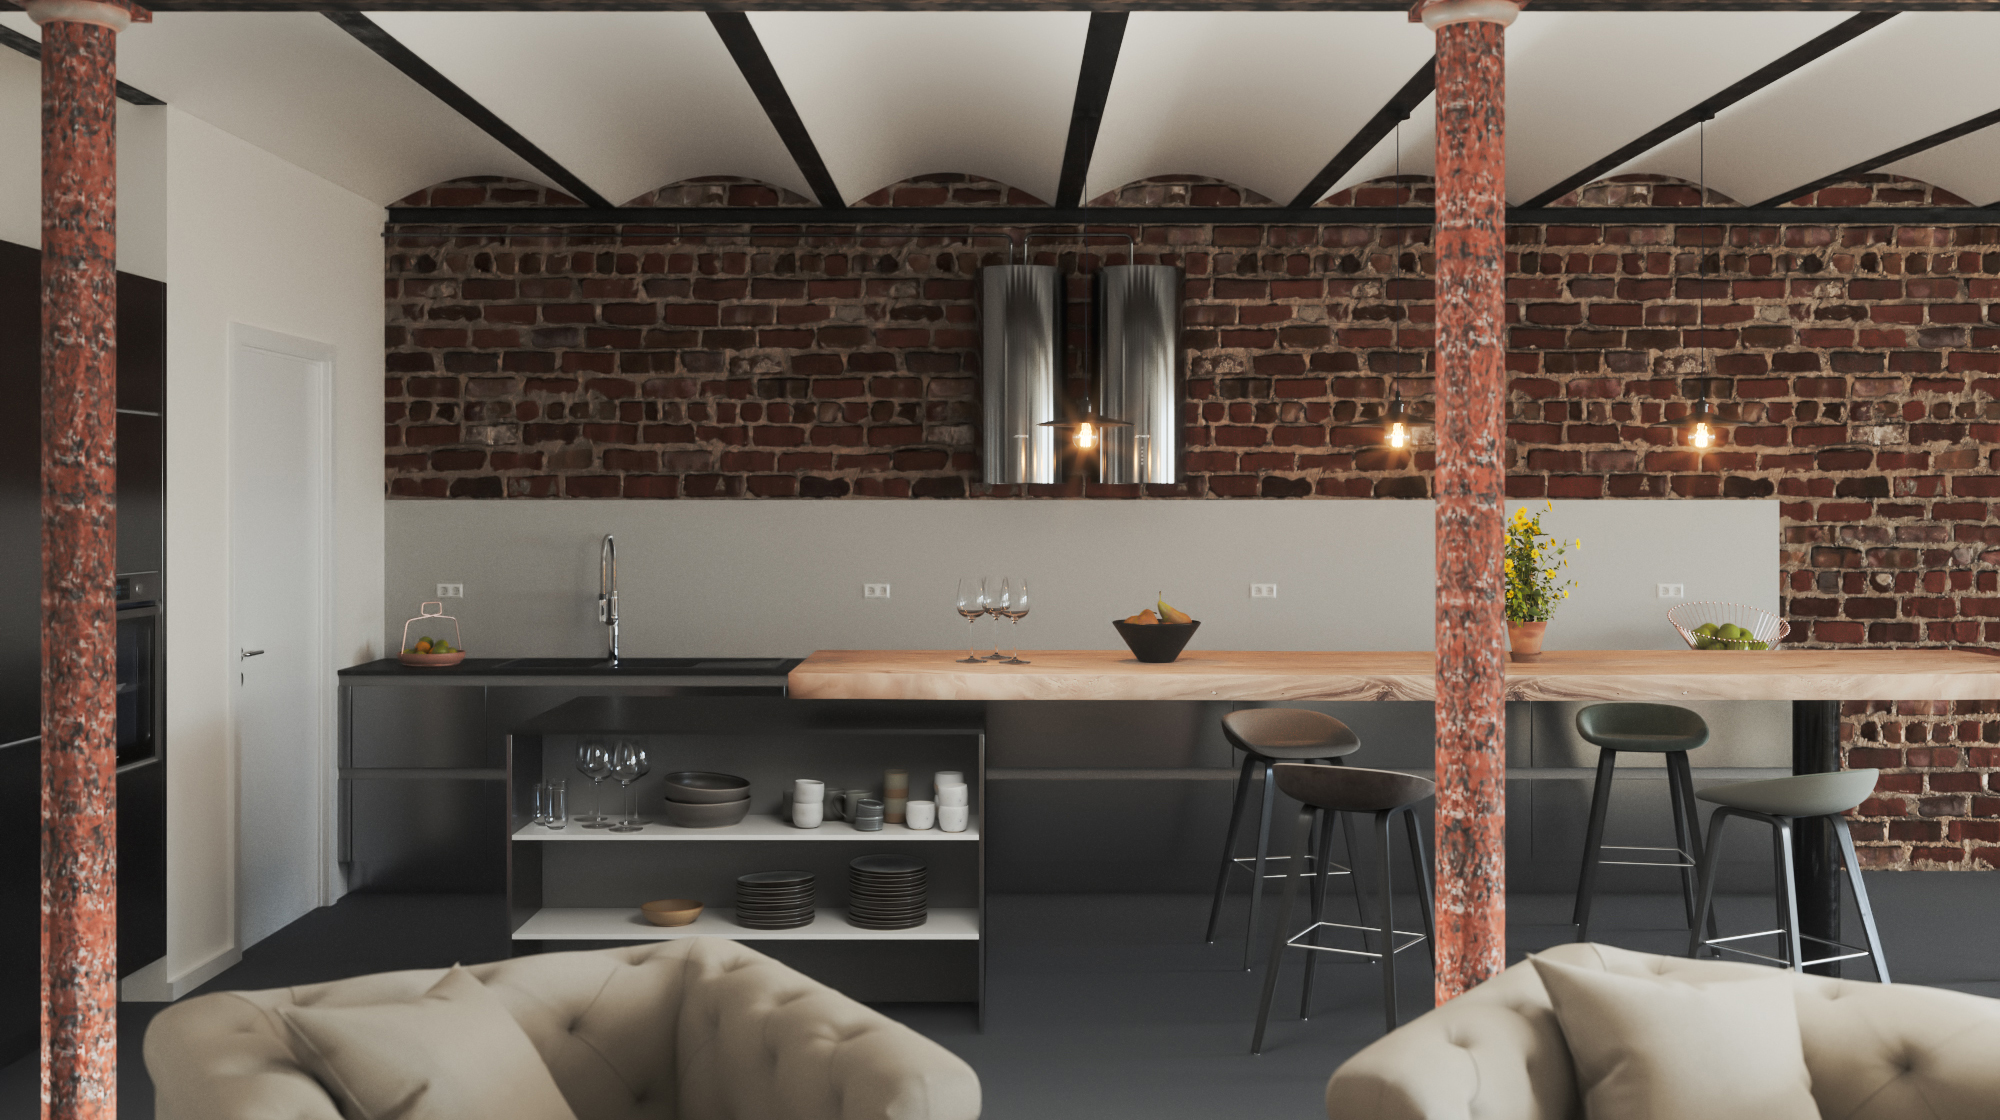
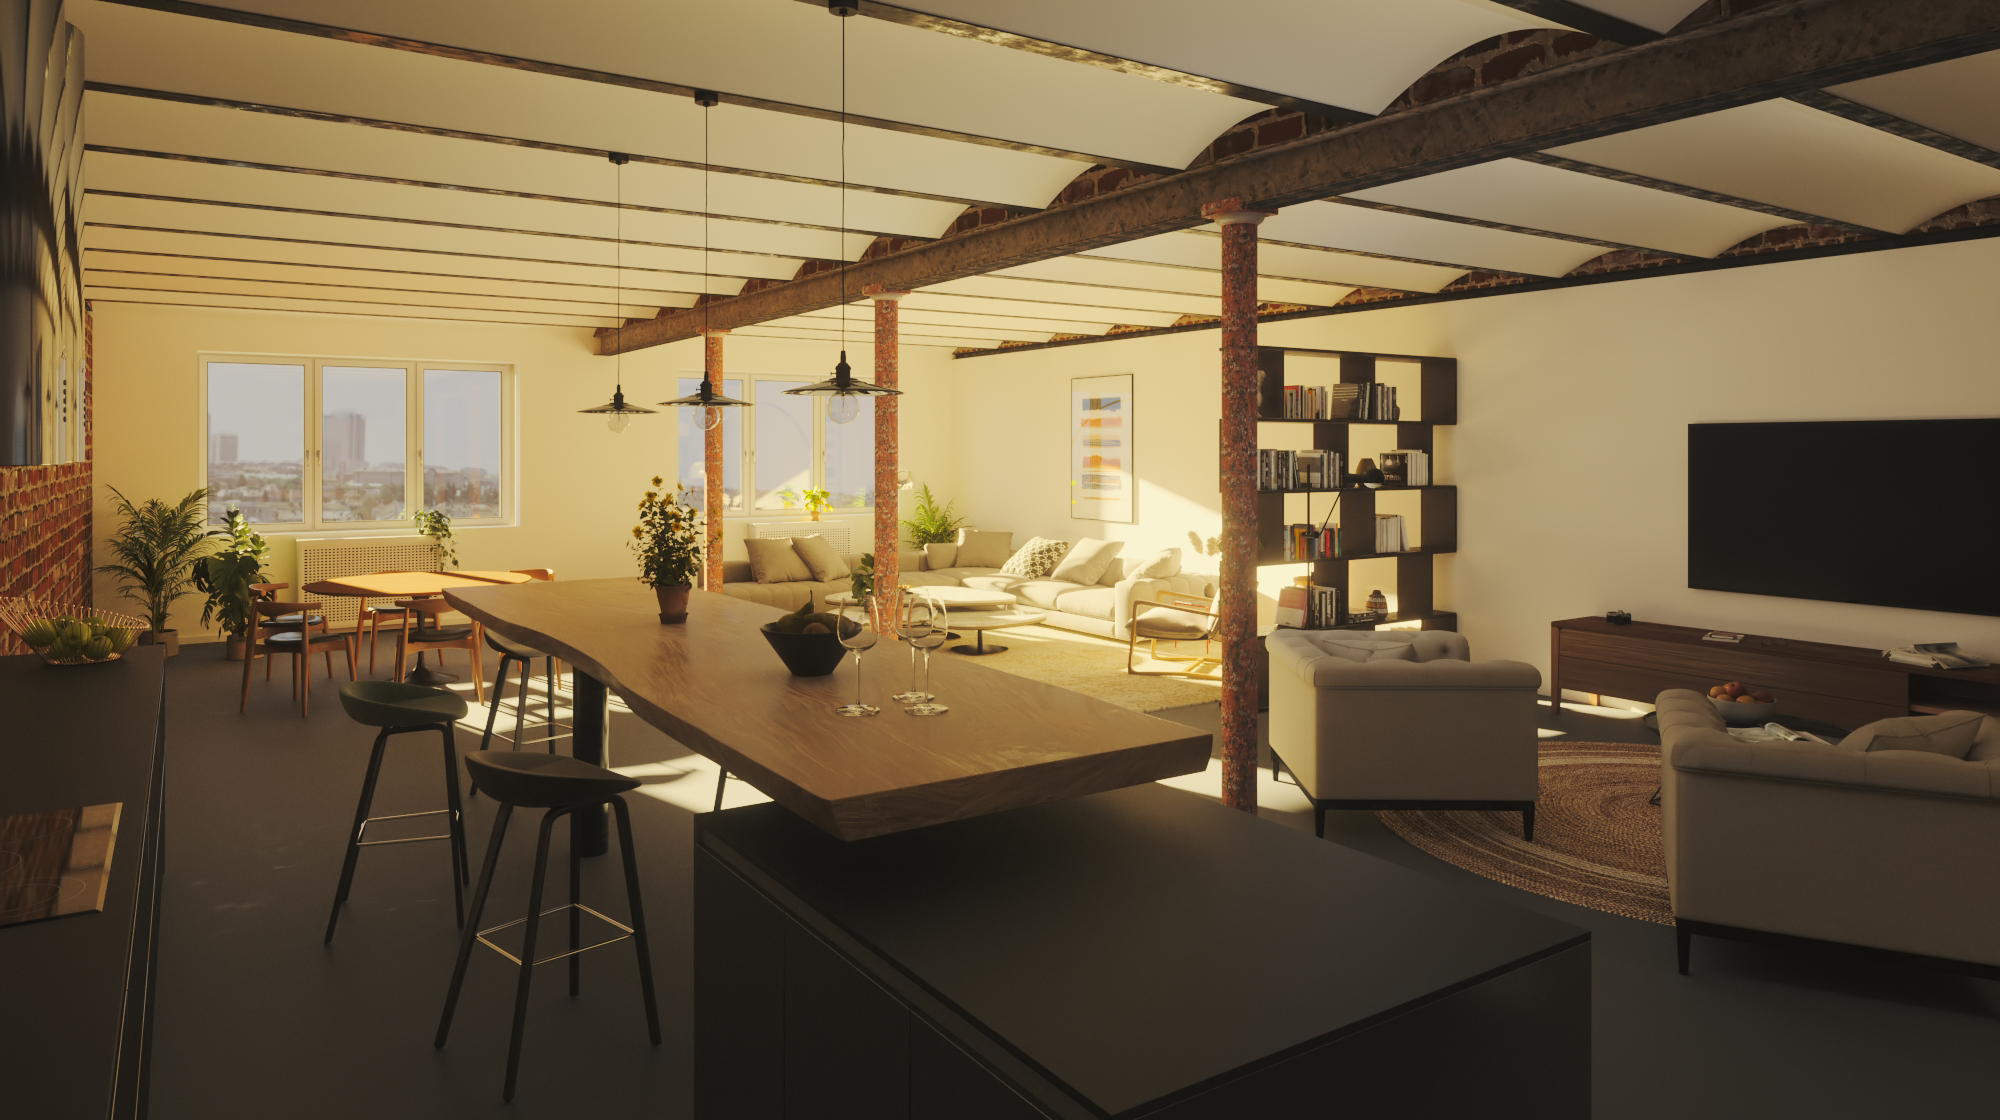
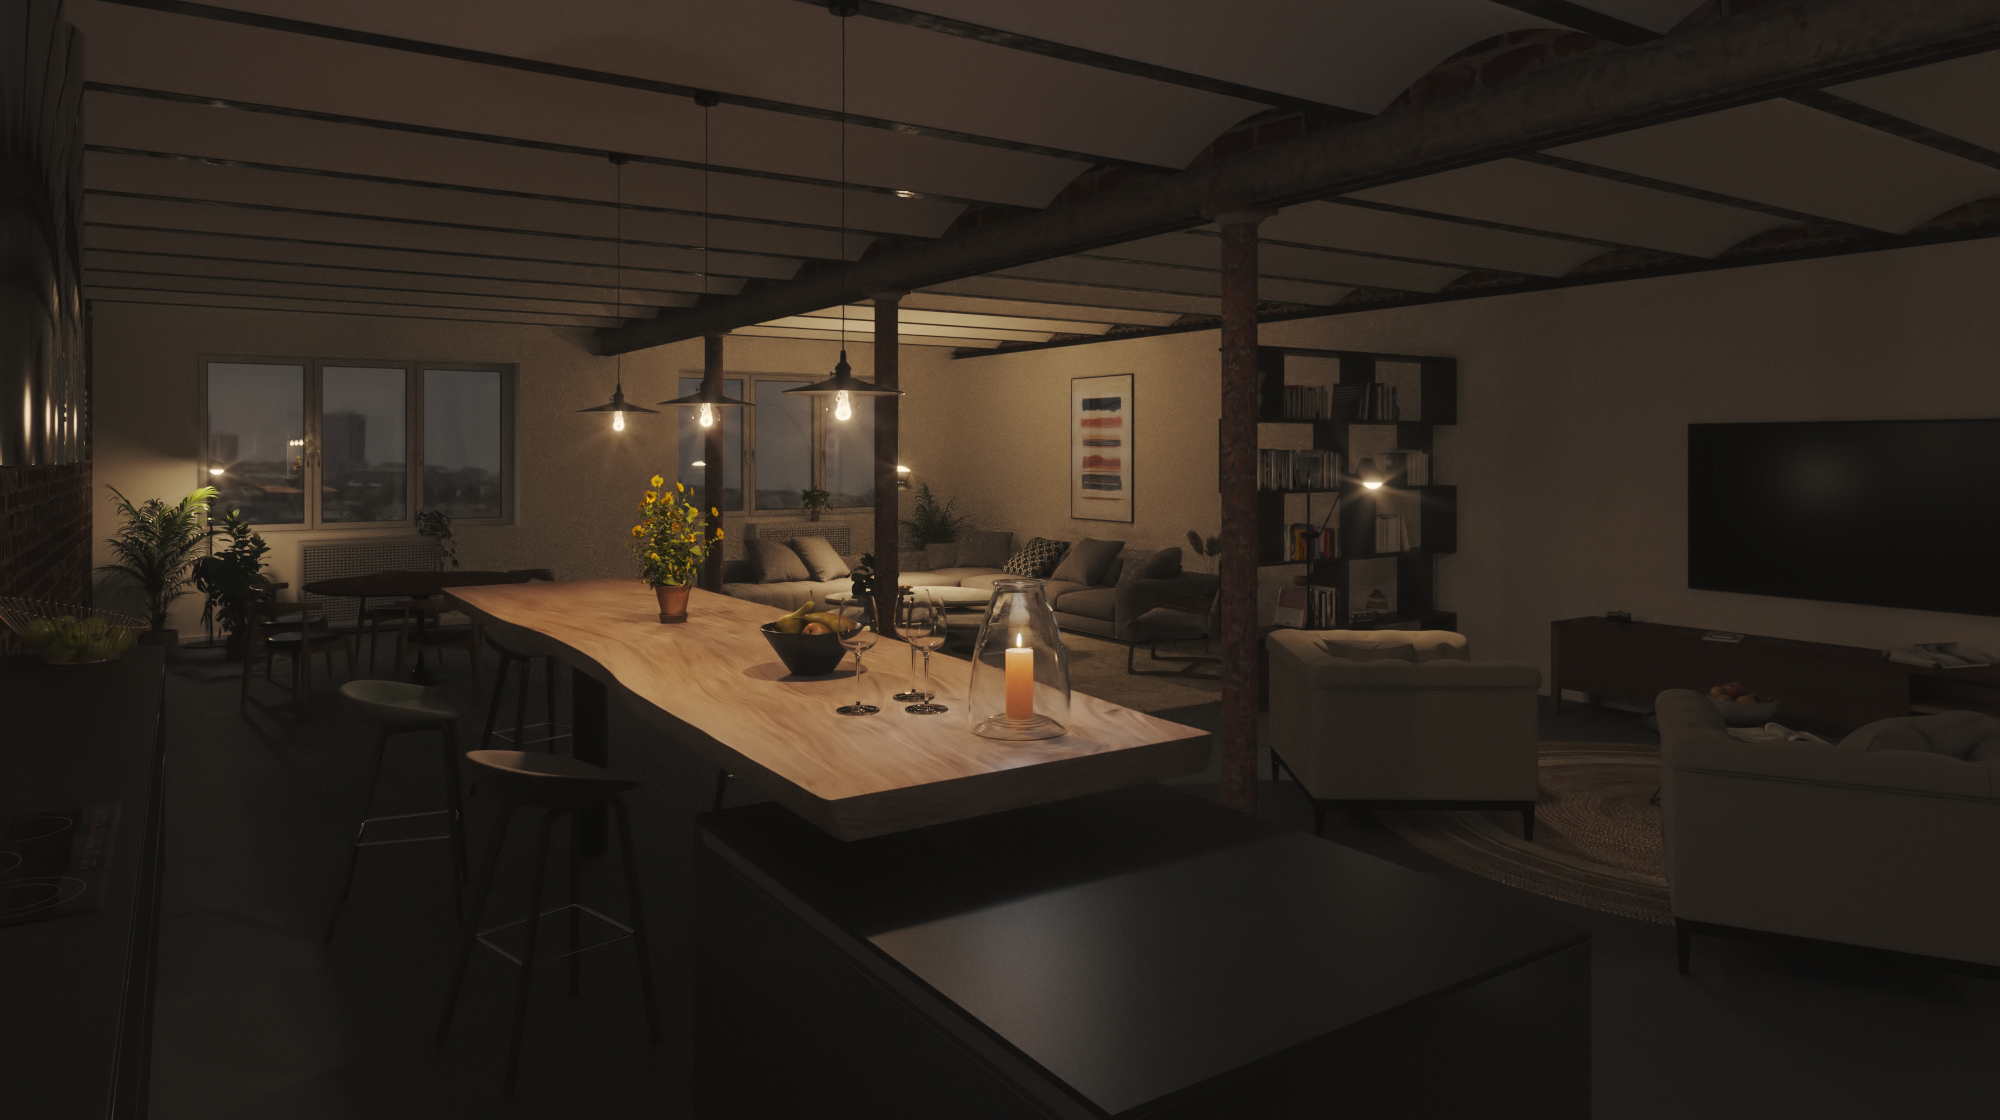
Creating compelling 3D visuals is a complex process that takes time.
Every project is singular and every clients needs are different. But in the end, the final objective is always the same: to create high-end architectural visualizations.
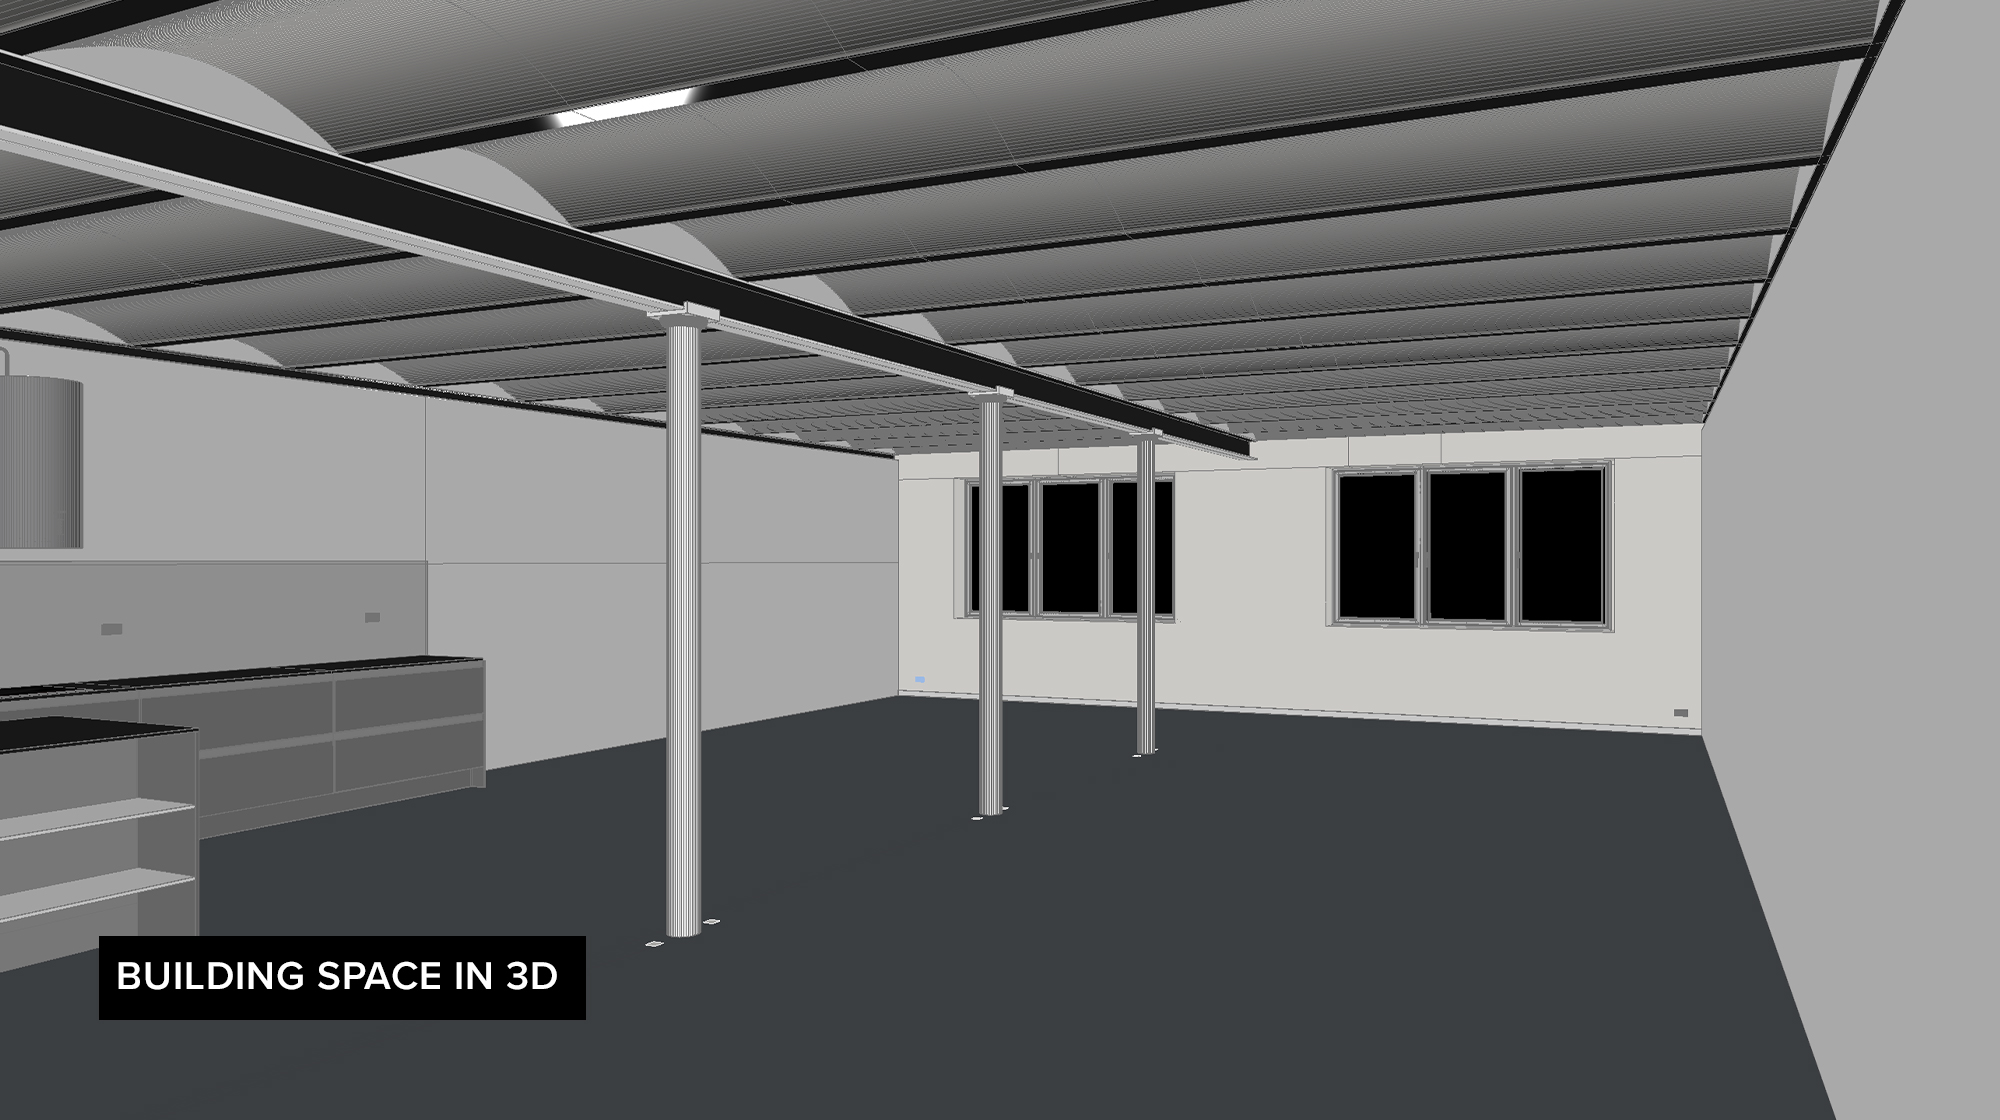
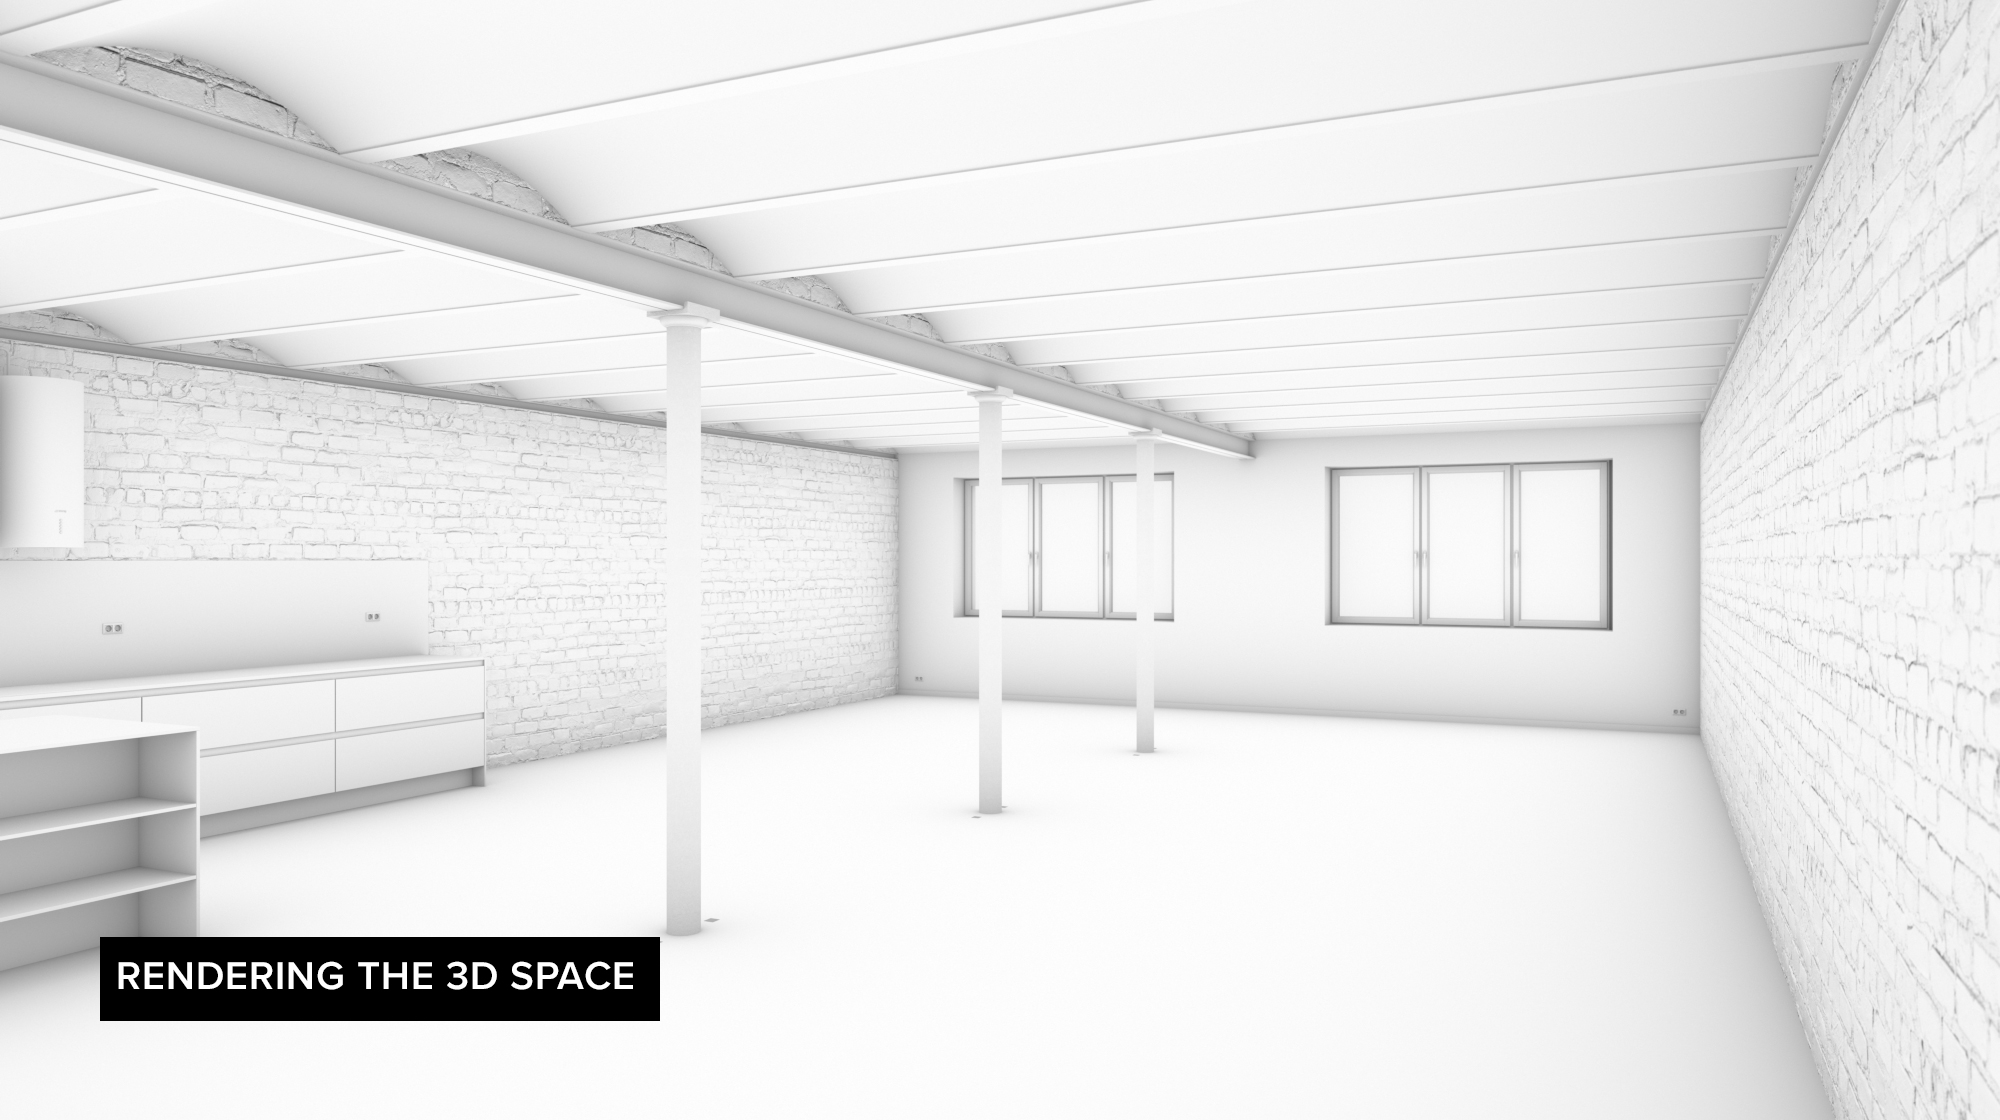
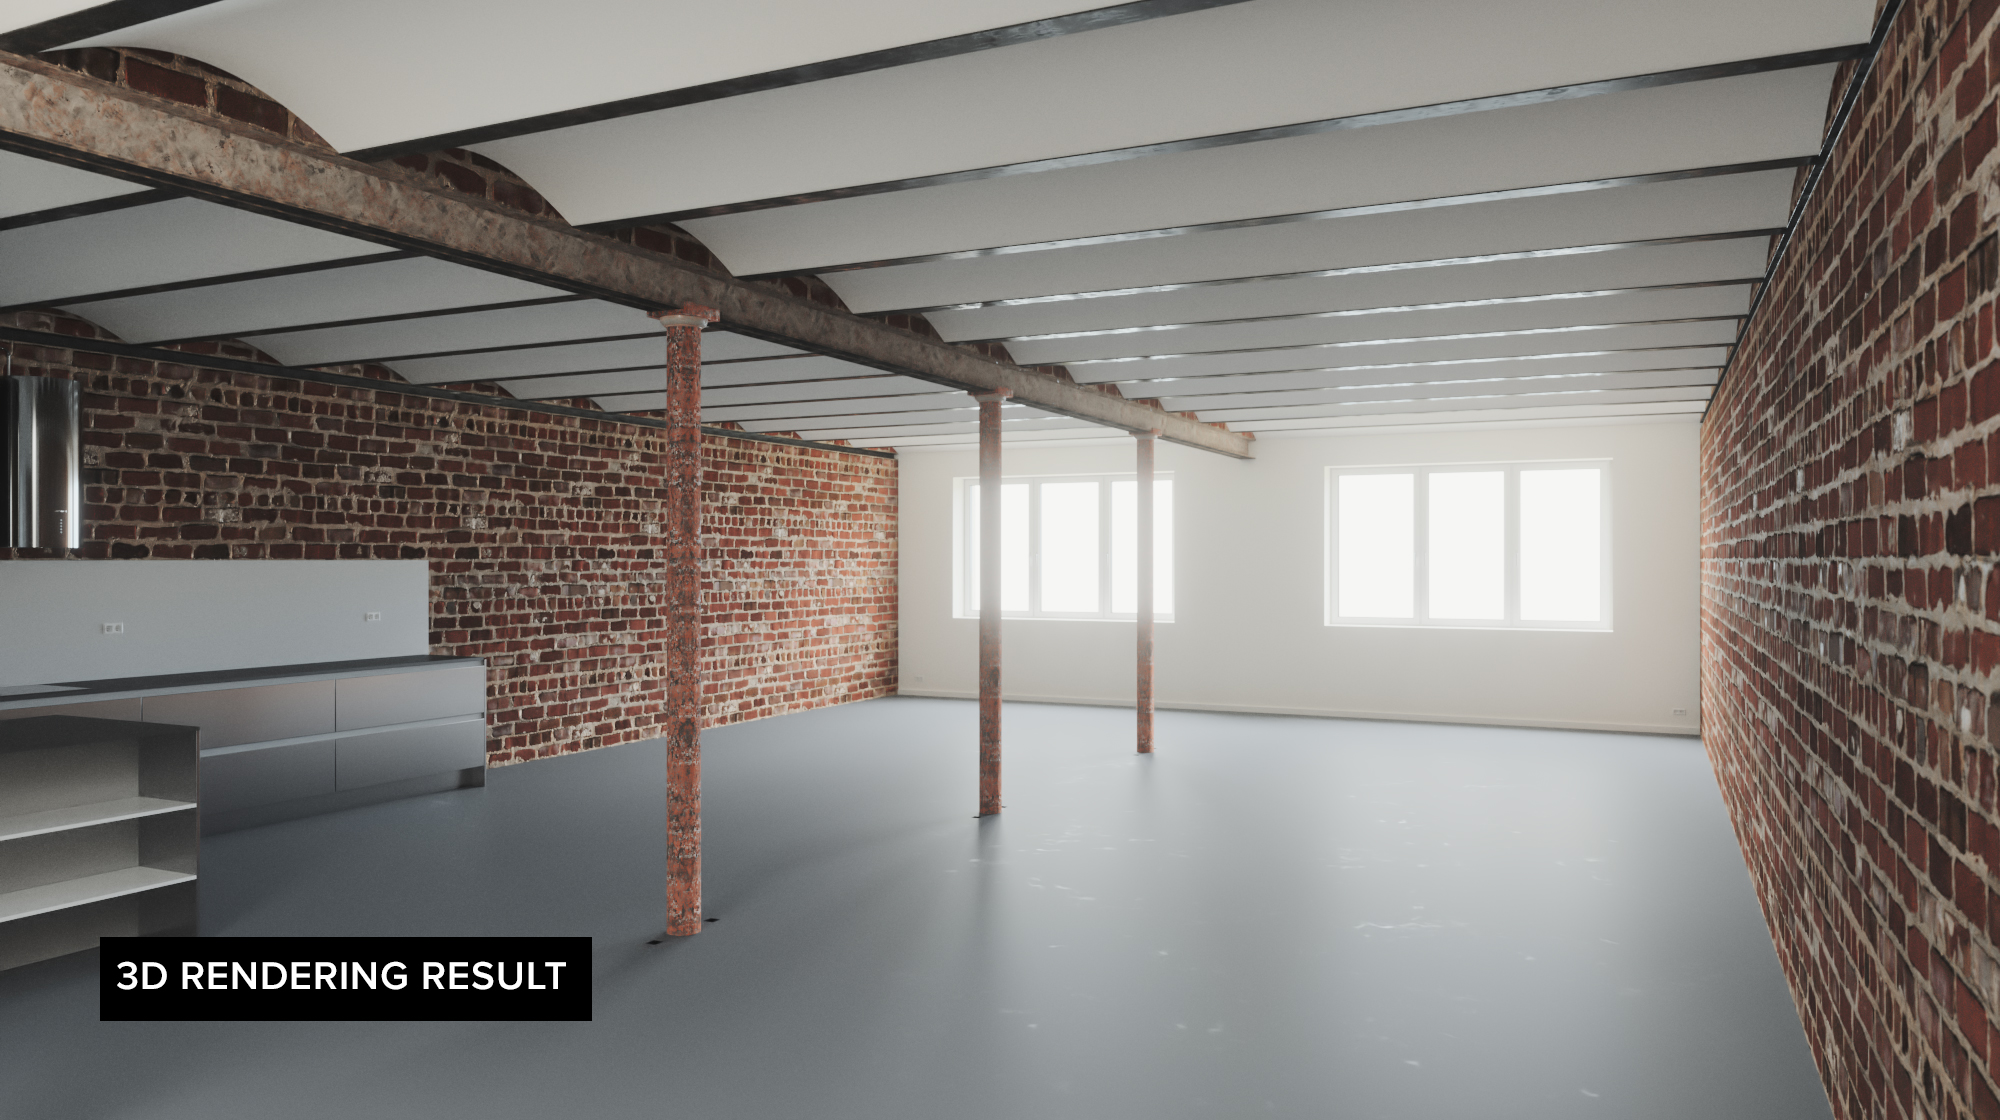
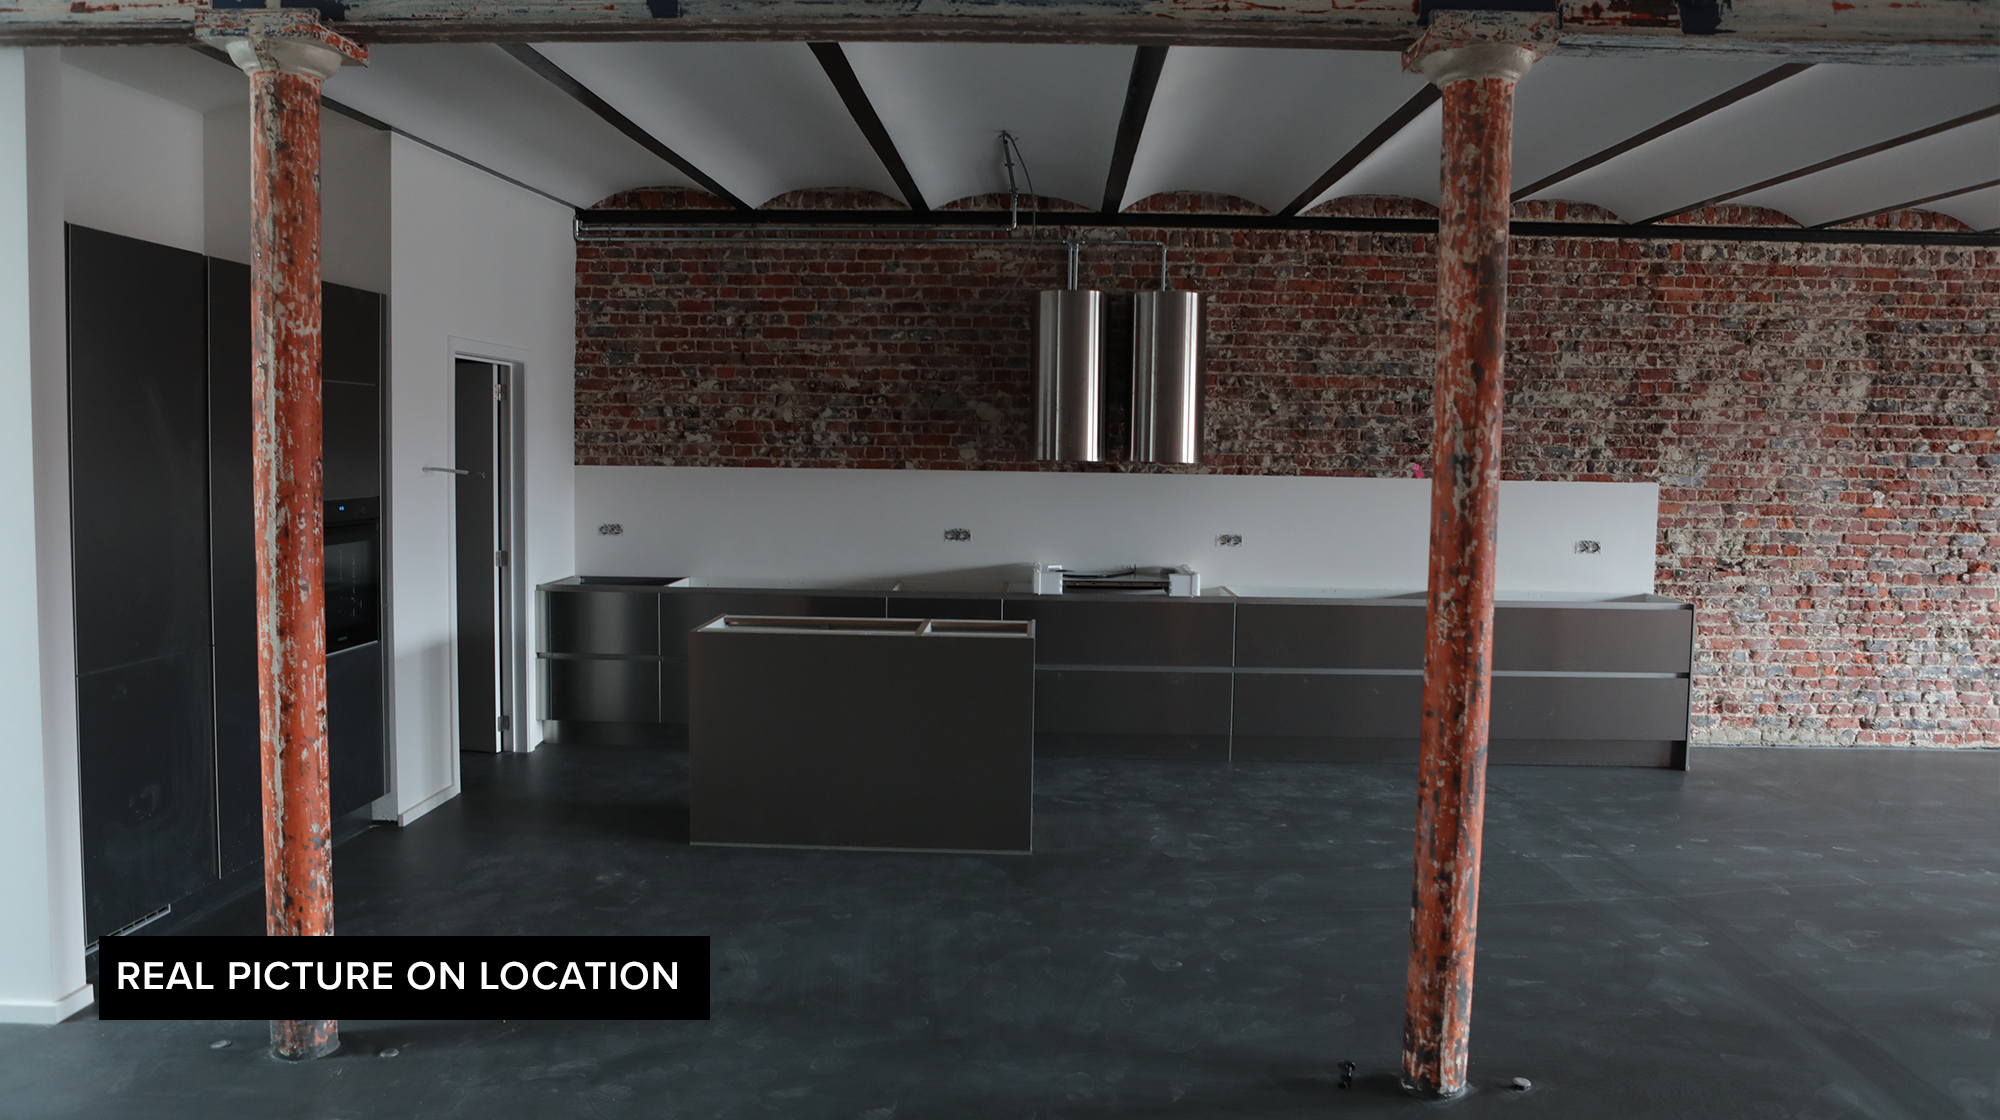
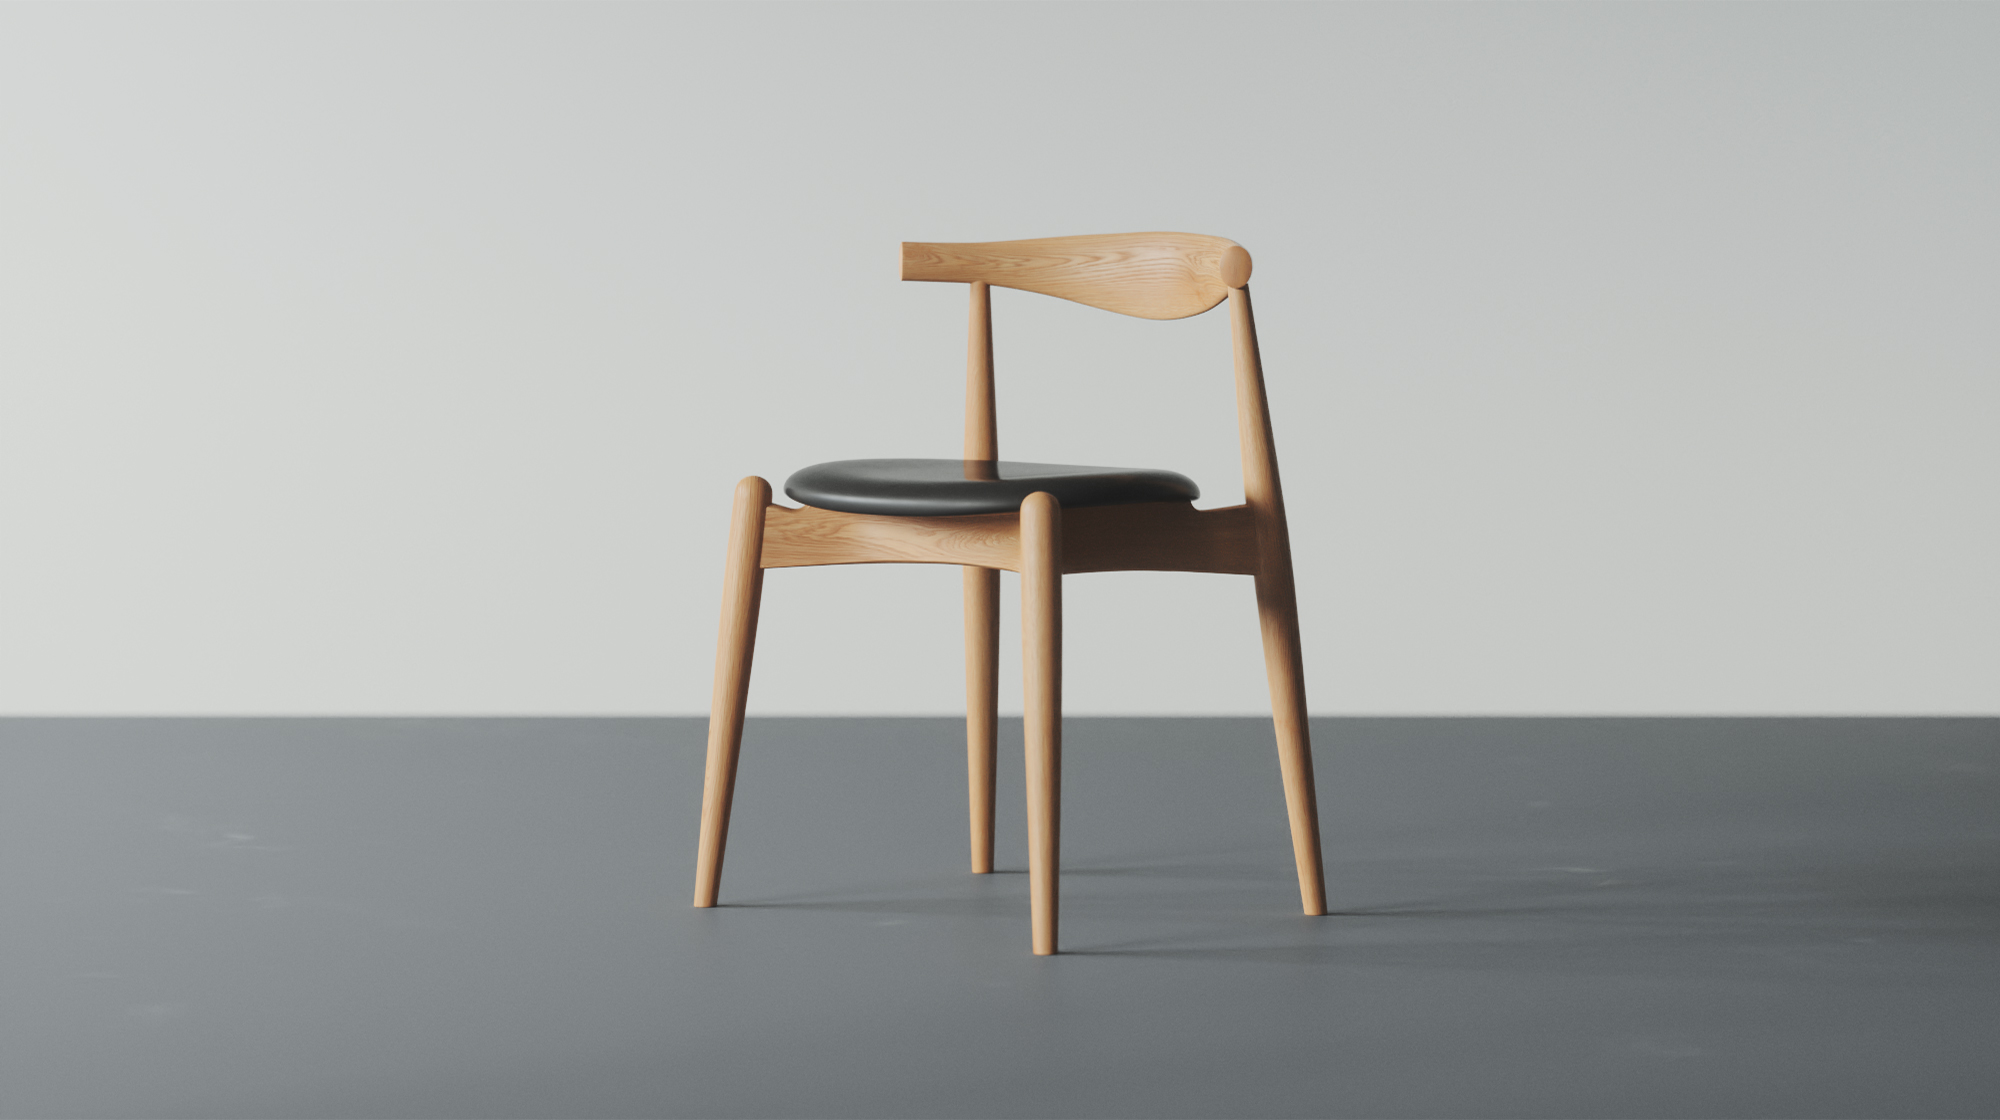
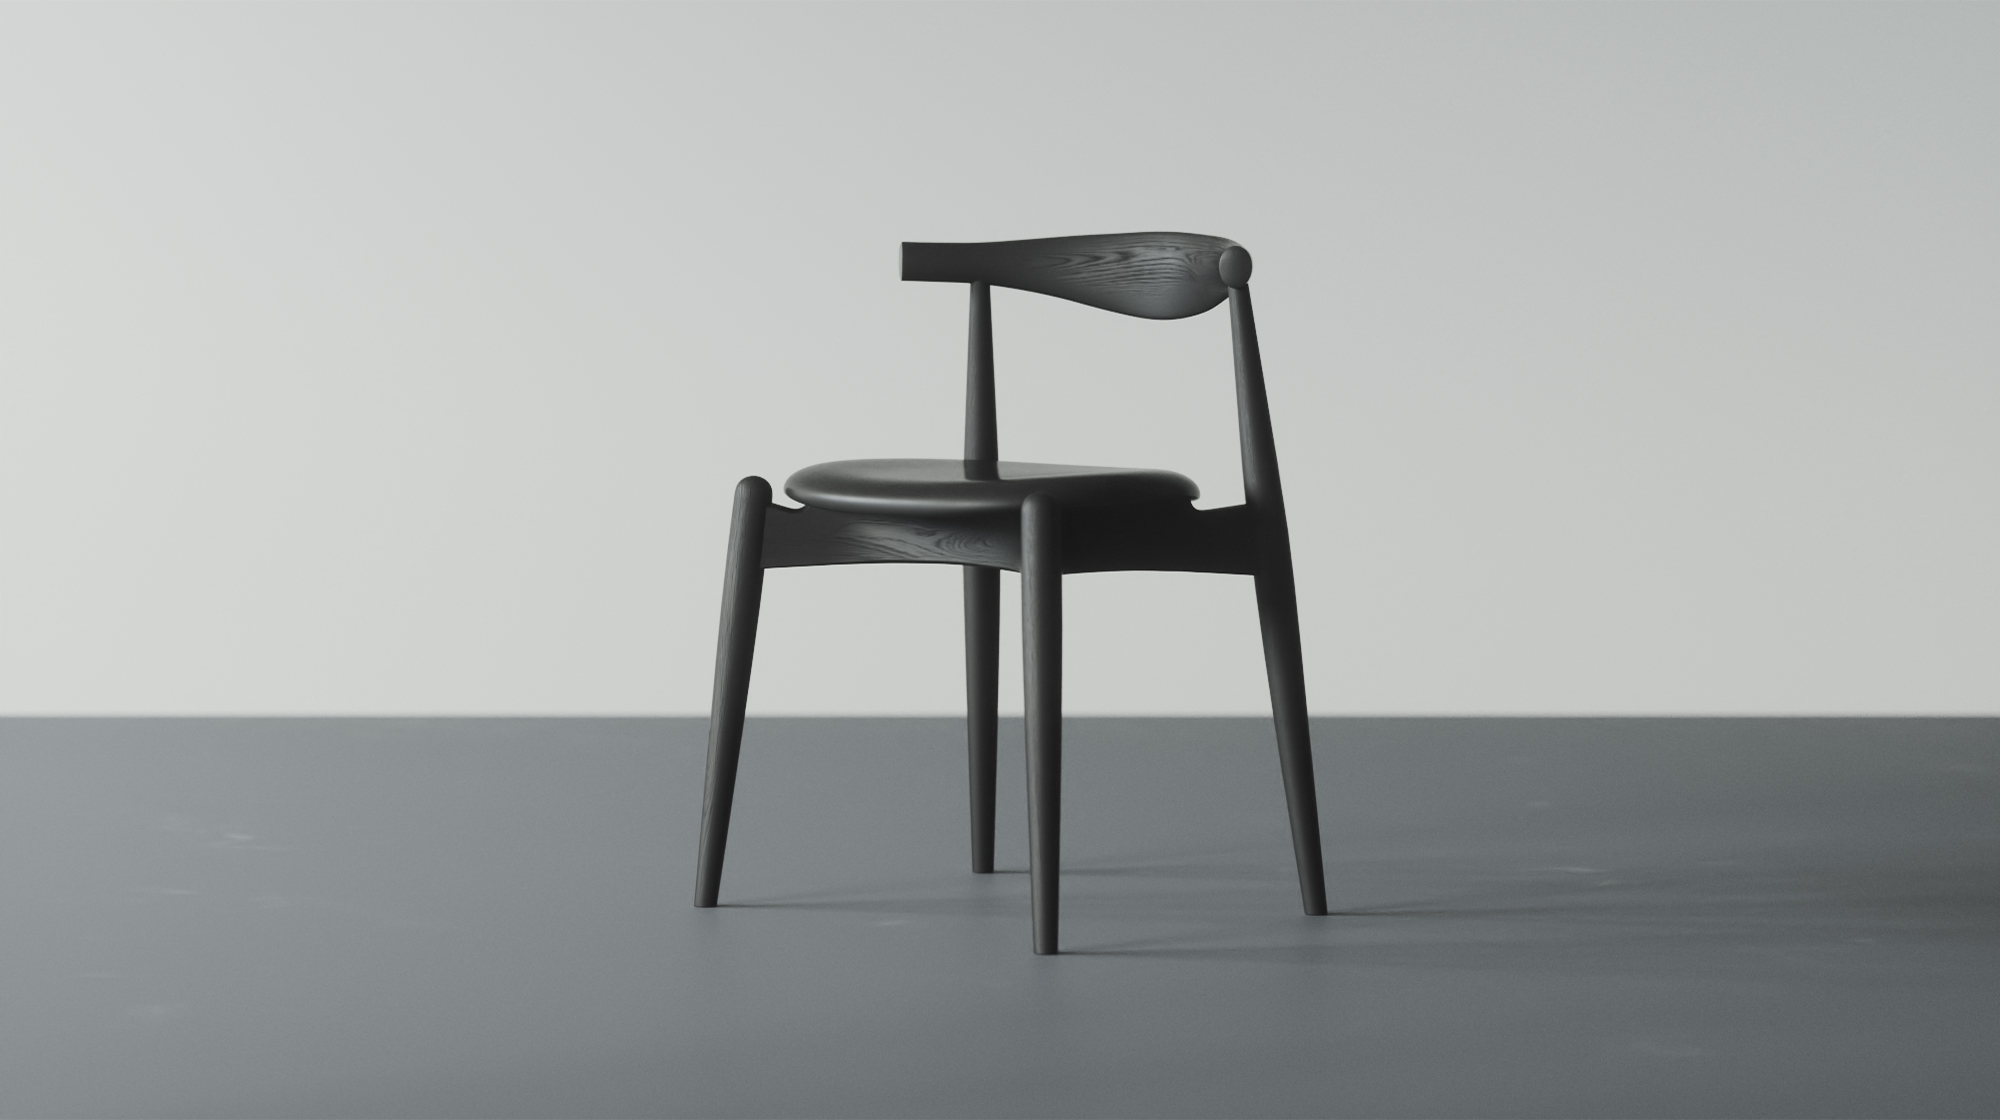
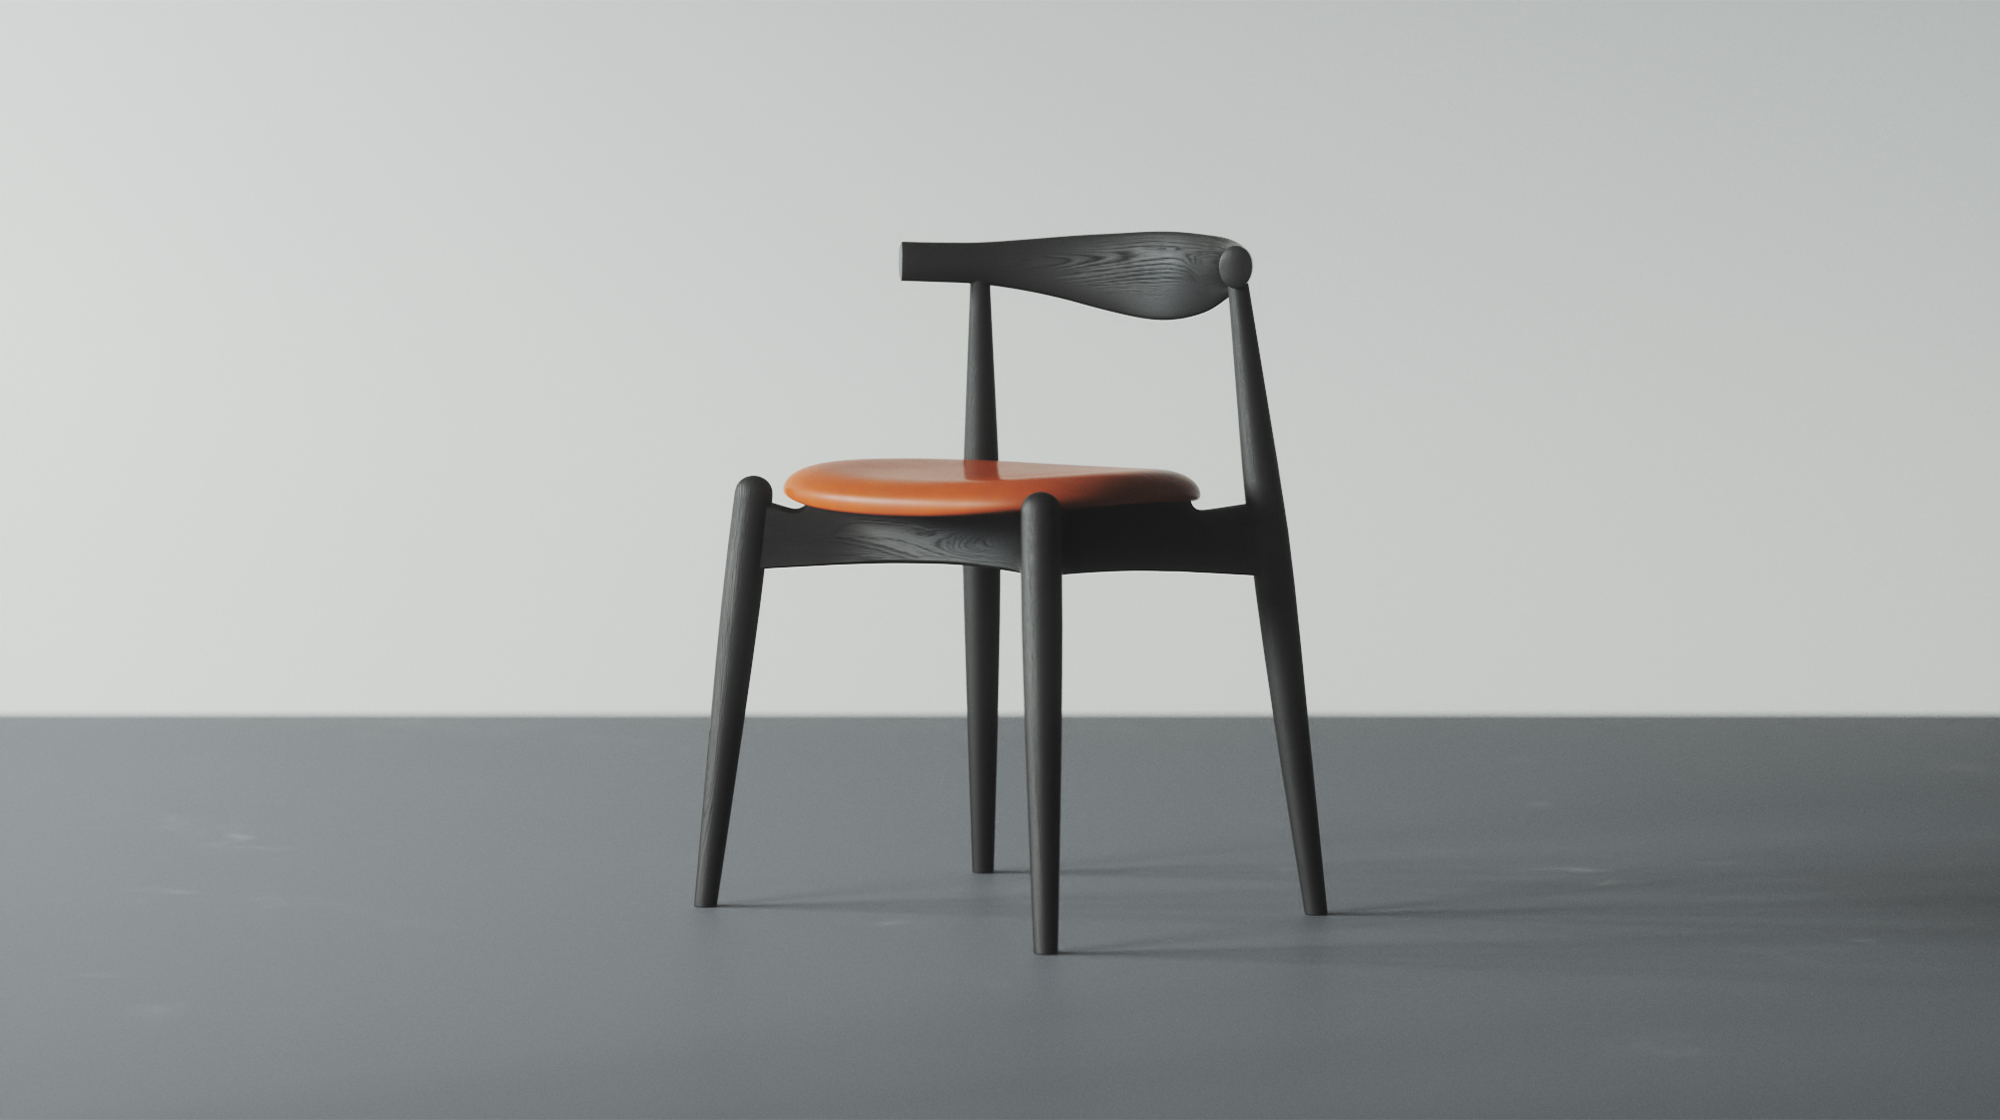
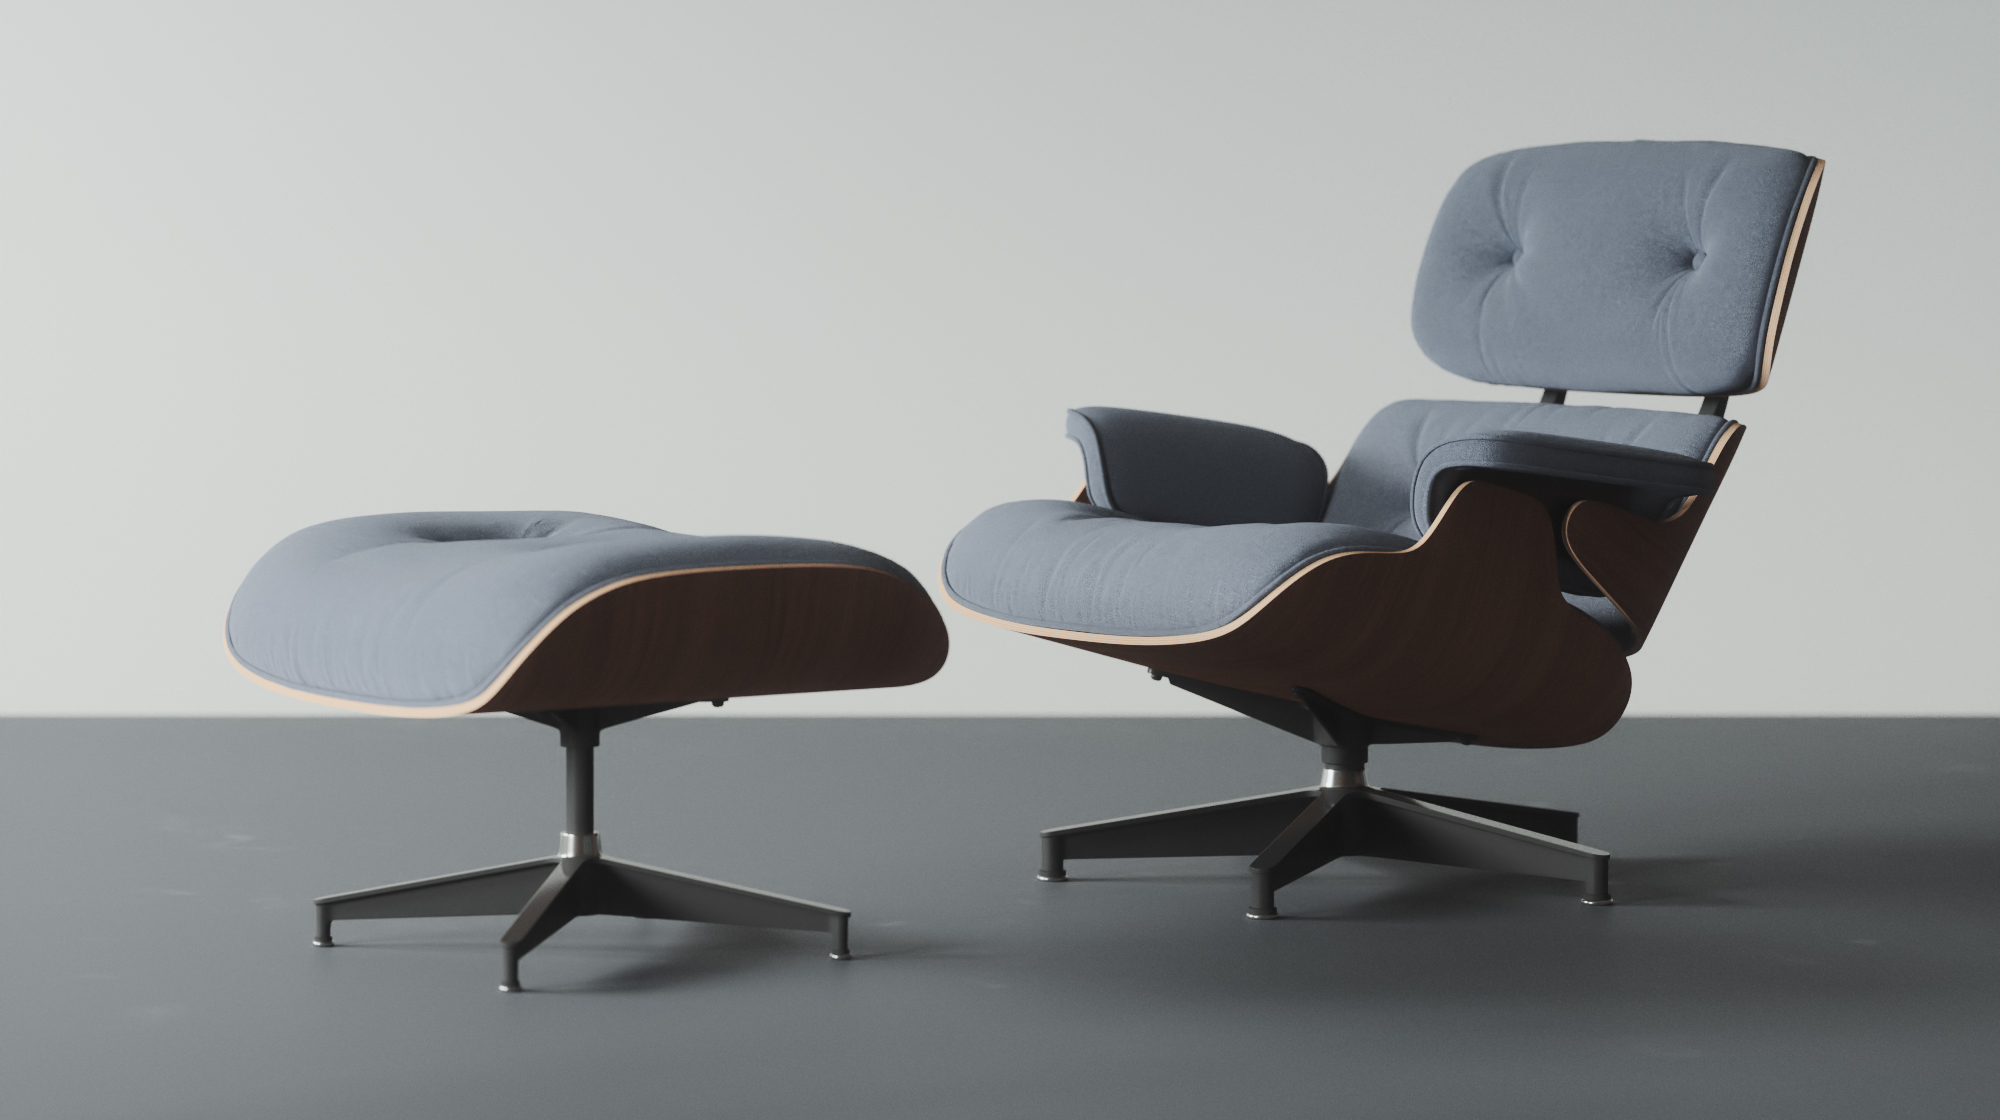
Here are 7 steps of a complete project.
STEP 01 • Architectural Plans

The first step of a new project usually starts with the creation of a 3D model based on 2D architectural floorplans provided by the client. The main structure of the different rooms and spaces are created with a focus on wall thickness, ceiling height, door heights. Another option is to create a 3D model based on multiple photos taken on location from a wide variety of angles.

STEP 02 • Creating the space

The next step aims to recreate in 3D an exact reproduction of the main elements such as the windows, the ceiling, the doors, the walls and other architectural elements. This step focuses on more specific architectural elements that are particular to each room. In the example on the right many elements are custom mode such as the arched ceiling, the pillars, the brick walls and the special floor material.

STEP 03 • Custom-made elements

Once the spaces have been created it is time to build specific elements such as the kitchen cabinets, the kitchen appliances, the bathroom, air ventilation, electricity sockets and cables, etc. All these specific details will add realism to the final 3D renders.

STEP 04 • Custom-made furniture

With every room now ready it is time to add life into the 3D spaces to create an environment where it feels like people actually live. Furniture can either be found on online 3D-assets libraries or they can also be custom-made to follow the exact wishes of the client.

STEP 05 • Choosing colors & textures

The power of 3D is been able to customize almost everything to the clients choice: the type of flooring, the texture of wood, the type of fabric, the color of the walls.

STEP 06 • Final touches

Last but not least, the final touches! When most of the furniture is in place it’s time to add smaller objects such as paintings on the walls, books on the shelves, fruits on the table, plants on the ground and a city in the background. Of course these small elements can also be custom-made or even photo-scanned!

STEP 07 • Different moods

When everything is set in place, 3D renderings offer a final powerful tool: to see the space at different times of the day offering different moods of the same environment. This is an important visual aspect to show the true feeling of a place and how it would feel to live there from sunrise to sunset.